# Lesson 11: Blog feeds, tags and pagination
If you ask someone what Eleventy is, it’s pretty likely they’ll say it’s for making blogs and personal sites.
We’ll learn that this isn’t always the case throughout this course. But we’re also going learn key skills that let us publish our own content in the future, too. After all, the end goal of this course is for us to feel confident to start any Eleventy project, from scratch.
Over the next couple of lessons, we’re really getting into some of the complex stuff, so brace yourself. We’ll start by scaffolding our blog and tagging/taxonomy system.
# Our blog data
Let’s first take a look at what we’re dealing with. Open up any of the markdown files that live in eleventy-from-scratch/src/posts and take a look at the Front Matter. It should look like this:
---
title: 'Why cross-cultural design really matters'
date: '2020-04-01'
tags: ['Culture', 'Design Thinking']
---
Compared to what we’ve experienced over the last 10 lessons of this course, this Front Matter is pretty straight forward. We’ve got a title, an ISO formatted date (opens new window), and an array of tags.
TIP
The tags here are actually a JSON-style array. I personally like to store simple arrays like this as JSON-style rather than YAML-style. A YAML-style array looks like this:
tags:
  - 'Culture'
  - 'Design Thinking'
Either style works, so use whichever you prefer.
# A quick note on dates
Eleventy has a pretty clever setup for dates (opens new window) built in. In this course, we’re specifying a date item in our Front Matter, but if we didn’t do that, Eleventy would grab the created date from the file’s metadata.
You can also use the following values for date:
Last Modified: this will always be the last time you edited the file.Created: this is the same as omitting thedate.
Lastly, you can omit the date in your Front Matter and apply it to the filename of your post instead. Let’s take the current post we have open as an example.
The current filename is why-cross-cultural-design-really-matters.md. We could change it to 2020-04-01-why-cross-cultural-design-really-matters.md instead and Eleventy would extract the date from there.
Pretty smart, right?
# Creating our feeds
Right, that’s enough about dates. Let’s get back to making stuff.
We’ll start our blog section by creating ourselves a blog collection.
Open up eleventy-from-scratch/.eleventy.js and add the following before or after your work collection references:
// Returns a collection of blog posts in reverse date order
config.addCollection('blog', collection => {
  return [...collection.getFilteredByGlob('./src/posts/*.md')].reverse();
});
This is just like the collections we added earlier, but there’s a bit to cover still.
Firstly, you might have noticed we’re using the spread syntax (opens new window).
This is because we’re reversing the collection of posts and the reverse() array method mutates the array (opens new window) in question. That means that when the order of items is reversed it applies that reversal to the array itself.
We use the spread [...] to create ourselves a copy of the original array and instead mutate that.
This is a safety mechanism in case we wanted to use our blog collection somewhere else in our project and didn’t want the order reversed.
TIP
You can also use the reverse Nunjucks filter (opens new window) which doesn’t mutate the array.
For example, if we wanted to reverse our blog collection in a template, we would do this:
{% set posts = collections.blog | reverse %}
The reason we reverse our blog collection is because Eleventy has already helpfully put them in date order (now the boring dates bit makes sense, right?). But the date order is chronological and we want our posts to be reverse chronological, which means newest first.
# Creating our feed
Now we have the data, we can start to think about programming some HTML.
We have a couple of feed views on our site. The main one is the blog feed, which is a paginated list of posts. We also have a tags feed which lists all posts that have a certain tag. For example, if we take the Design Thinking tag from our above Front Matter example, that will list one other post on the Design Thinking tag page.
Because we have a shared interest, we’ll apply what we’ve already learned by creating a shared feed layout and a couple of partials. Let’s create the layout first.
Create a new file in your layouts folder called feed.html and add the following to it:
{% extends "layouts/base.html" %}

{% set pageHeaderTitle = title %}
{% set pageHeaderSummary = content %}
{% set postListItems = pagination.items %}

{% block content %}
<article>
  {% include "partials/page-header.html" %} {% include "partials/post-list.html" %}
</article>
{% endblock %}
Pretty sparse, right? That’s because so much stuff is shared across our site, so it makes sense to create ourselves little reusable partials or components. The page header and post list are two great examples of things that feature in more than one place.
At the top of the file, we set data for these partials. The pageHeaderTitle and pageHeaderSummary get rendered in a partial called page-header.html, which we’ll create in just a moment, and the postListItems gets rendered in another partial called post-list.html.
Let’s add those partials.
Go to your partials folder and create a new file called page-header.html. Add the following to it:
<div class="[ page-header ] [ bg-light-glare ]">
  <div class="[ wrapper ] [ flow ]">
    <h1 class="[ page-header__heading ] [ headline ]" data-highlight="primary">
      {{ pageHeaderTitle }}
    </h1>
    {% if pageHeaderSummary %}
    <div class="[ page-header__summary ] [ measure-long ]">
      {{ pageHeaderSummary | safe }}
    </div>
    {% endif %}
  </div>
</div>
Short and sweet. We only conditionally render the summary if pageHeaderSummary is set. We’ll see how handy this is later in the course.
Let’s add our post list too. Create another new file in your partials folder called post-list.html and add the following to it:
<div class="[ dot-shadow panel ] [ bg-secondary-glare ]" id="post-list">
  <div class="[ wrapper ] [ flow flow-space-700 ]">
    {% if postListHeadline %}
    <h2 class="[ headline ] [ measure-micro ]" data-highlight="primary">
      {{ postListHeadline }}
    </h2>
    {% endif %}
    <div>
      <ol class="[ post-list ] [ flow ]">
        {% for item in postListItems %}
        <li class="[ post-list__item ] [ leading-tight measure-long ]">
          <a href="{{ item.url }}" class="post-list__link">{{ item.data.title }}</a>
        </li>
        {% endfor %}
      </ol>
    </div>
  </div>
</div>
Again, the post list is pretty straightforward—especially when you brush aside the layout HTML, because that’s for later in the project when we add our CSS.
We also have an optional postListHeadline. In our current context, that section won’t render because it’s not defined on our feed.html layout, but it will render in subsequent sections when we define postHeadline.
It’s a handy way of making this partial as flexible and reusable as possible and another subtle demonstration of the power we get with Nunjucks.
# Wiring up our data
Now that we have some HTML, we need to wire the data up to it. To do that, we’re going to create a new page using a markdown file.
Create a new file in your src folder called blog.md and add the following Front Matter and content to it:
---
title: 'The Issue 33 Blog'
layout: 'layouts/feed.html'
pagination:
  data: collections.blog
  size: 5
permalink: 'blog{% if pagination.pageNumber > 0 %}/page/{{ pagination.pageNumber }}{% endif %}/index.html'
paginationPrevText: 'Newer posts'
paginationNextText: 'Older posts'
paginationAnchor: '#post-list'
---

The latest articles from around the studio, demonstrating our design
thinking, strategy and expertise.
Holy moly, there is stuff happening here. I told you we were upping the pace now, and this is certainly an example of that!
What we’re doing here—aside from setting some pretty standard data like paginationPrevText—is using Eleventy’s powerful pagination system
This allows us to pass a collection or even a standard ol’ array of data, along with a page size (size: 5) and it does the rest for us by breaking it all up into batches. When it has those batches, it then creates copies of the blog.md page with each batch of data.

In this diagram, we have our pagination page size set to 3, which means we want batches of 3 or fewer items returned back. Once the pagination system has created those batches, they become available via pagination.items in our feed.html layout. We also get some other handy properties as part of the pagination object, but we’ll look at those in the next lesson.
With pagination.items each copy of the blog.md page will represent one of the batches. This is where we turn our attention to the permalink. Let’s zoom in on it:
permalink: 'blog{% if pagination.pageNumber > 0 %}/page/{{ pagination.pageNumber }}{% endif %}/index.html'
TIP
The reason we add /index.html to the end of our permalink string is because Eleventy can literally generate whatever file you want. So if your permalink equates to blog/1, it’ll create a plain text file called 1 inside of your blog output directory.
This trips a lot of people up, so cling on to that little bit of knowledge!
Eleventy is very smart in that it allows us to use Nunjucks within our Front Matter. In our case, we’re testing to see if the current pageNumber is greater than 0. If it is, we’re adding a /page/{{ pagination.pageNumber }} to our permalink.
Let’s break that down. Remember how the pagination system effectively creates several copies of the page, each time changing the value of pagination.items to be the current batch? For each of those pages, it needs to create a permalink too. If we changed nothing, the URLs that are generated on this project would be this:
blog
blog/1
blog/2
We want a page segment on there too, so the logic in our permalink can be spelled out like this:
If the page number is greater than 0, then add what the current page number is, with “page” to our permalink. If not, just return “blog”
Now with our permalink knowledge, our URLs look like this:
blog
blog/page/1
blog/page/2
And breathe. This is certainly one of the most complex Eleventy concepts that we cover in this course, so I imagine your brain is like porridge right now. I know mine was when I learned all of this!
# Pagination links
So now we’ve got 3 pages of blog posts but no way to link them together yet. Let’s let the pagination object sort that out for us.
In your partials folder, create a new file called pagination.html and add the following to it:
{# Only renders this section if there are links to render #}
{% if pagination.href.next or pagination.href.previous %}
  <footer class="[ pagination ] [ dot-shadow panel ] [ bg-light-glare font-sans weight-bold ]">
    <div class="wrapper">
      <nav class="pagination__inner" aria-label="Pagination links">
        {% if pagination.href.previous %}
          <a href="{{ pagination.href.previous }}{{ paginationAnchor }}" data-direction="backwards">
            <span>{{ paginationPrevText if paginationPrevText else 'Previous' }}</span>
          </a>
        {% endif %}
        {% if pagination.href.next %}
          <a href="{{ pagination.href.next }}{{ paginationAnchor }}" data-direction="forwards">
            <span>{{ paginationNextText if paginationNextText else 'Next' }}</span>
          </a>
        {% endif %}
      </nav>
    </div>
  </footer>
{% endif %}
This is actually pretty straightforward. Inside the pagination object, there’s a handy object called href. In there, there are next and previous links, depending on which page we’re on. If we’re on the first page (blog/), then the previous will be empty, since there’s no page before it. If we’re on the third page (blog/page/2) then next will be empty.
Because of this, we’ve conditionally rendered a previous and/or next link. Using the same methodology as we have previously, where we set content at a higher level, the text of these links can be set with paginationPrevText and paginationNextText. We’ve used a Nunjucks ternary statement (opens new window) to set the appropriate text for us.
Finally, we’ve used the same principle for paginationAnchor. In our context, we’ve set that to #post-list which happens to be the id of our post-list.html elements.
Now we have a paginated blog feed, let’s finish up by applying what we’ve learned and creating some tags.
# Tag feeds
Create a new file in your src folder called tags.md and add the following to it:
---
title: 'Tag Archive'
layout: 'layouts/feed.html'
pagination:
  data: collections
  size: 1
  alias: tag
  filter: ['all', 'nav', 'blog', 'work', 'featuredWork', 'people', 'rss']
permalink: '/tag/{{ tag | slug }}/'
---
This looks very similar to our blog.md but it’s doing something way more powerful. Let’s first discuss how tags work with Eleventy.
Each time you add tag data to a page or post in Eleventy, it automatically creates said tag(s) as a collection. For example, our pretend blog data at the start of this lesson had: tags: ['Culture', 'Design Thinking']. In this example two new collections are created: 'Culture', 'Design Thinking', which can be accessed like this: collections['Culture'].
What we’re doing with this page is using the pagination system to create a page for each tag that’s present. We filter out collections that we don’t want to feature by passing an array of collections. Some of these don’t exist yet.
Ok, now lets tweak our feed page. Open up eleventy-from-scratch/src/_includes/layouts/feed.html.
Delete everything and replace it with the following:
{% extends "layouts/base.html" %}

{% set pageHeaderTitle = title %}
{% set pageHeaderSummary = content %}
{% set postListItems = pagination.items %}

{# If this is a tag, grab those items instead as one large collection #}
{% if tag %}
  {% set postListItems = collections[tag] %}
  {% set pageHeaderTitle = 'Blog posts filed under “' + tag + '”' %}
{% endif %}

{% block content %}
  <article>
    {% include "partials/page-header.html" %}
    {% include "partials/post-list.html" %}

    {# If we leave pagination in for tags, the next and prev links will
      link to tags and be rather confusing, so don't render in that situation #}
    {% if not tag %}
      {% include "partials/pagination.html" %}
    {% endif %}
  </article>

  {% include "partials/cta.html" %}
{% endblock %}
What we’ve done here is tweak how the post list and pagination are rendered. If tag is defined, it means that we’re on the tag page, so instead of loading pagination.items, what we do is this: {% set postListItems = collections[tag] %}. We grab all posts for the tag’s automatically created collection. That sound you hear is the penny dropping!
The last thing we’ve added is a conditional render of the pagination links. We know we won’t need them if this is a tag page, so we omit them completely.
# Wrapping up
Good gosh, that was a big one wasn’t it? So much has been learned about the inner workings of Eleventy though. Hopefully—if you didn’t already—you’re really starting to appreciate how powerful it is too.
The pagination system alone enables all sorts of opportunities—especially when Eleventy is used as the front-end of a headless CMS.
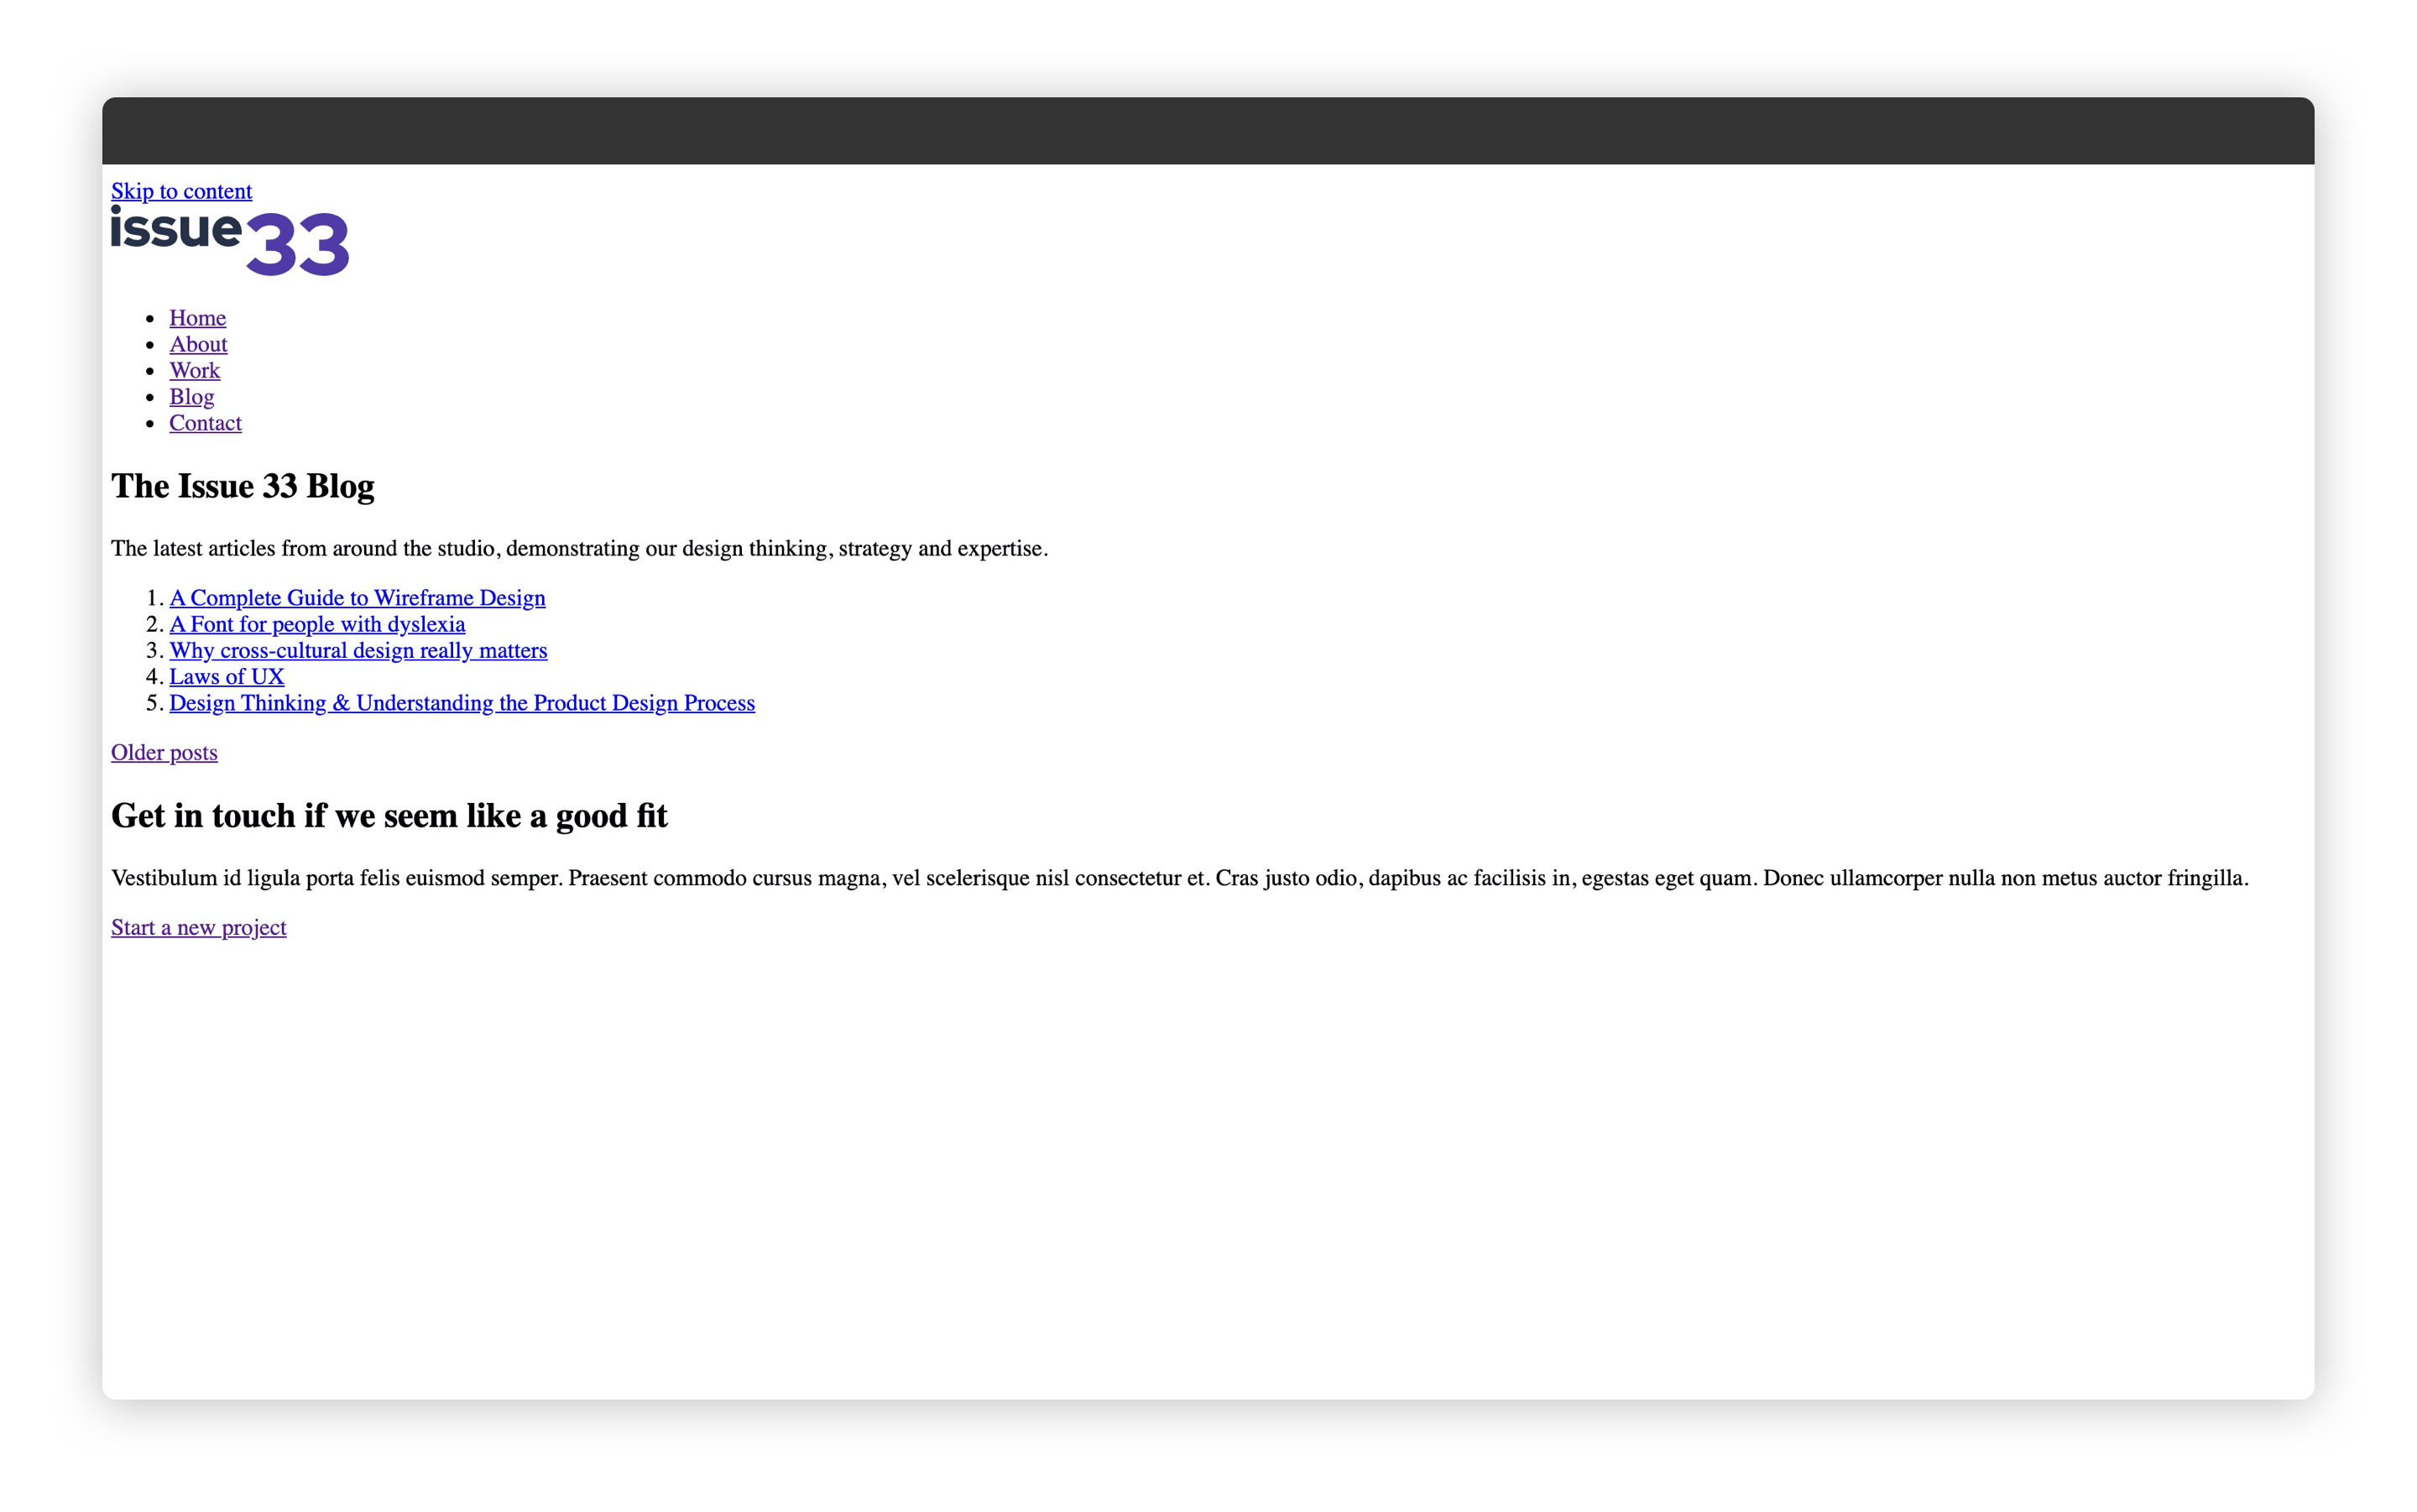
If you go to http://localhost:8080/blog/ (opens new window) now, you should see something that looks like this:
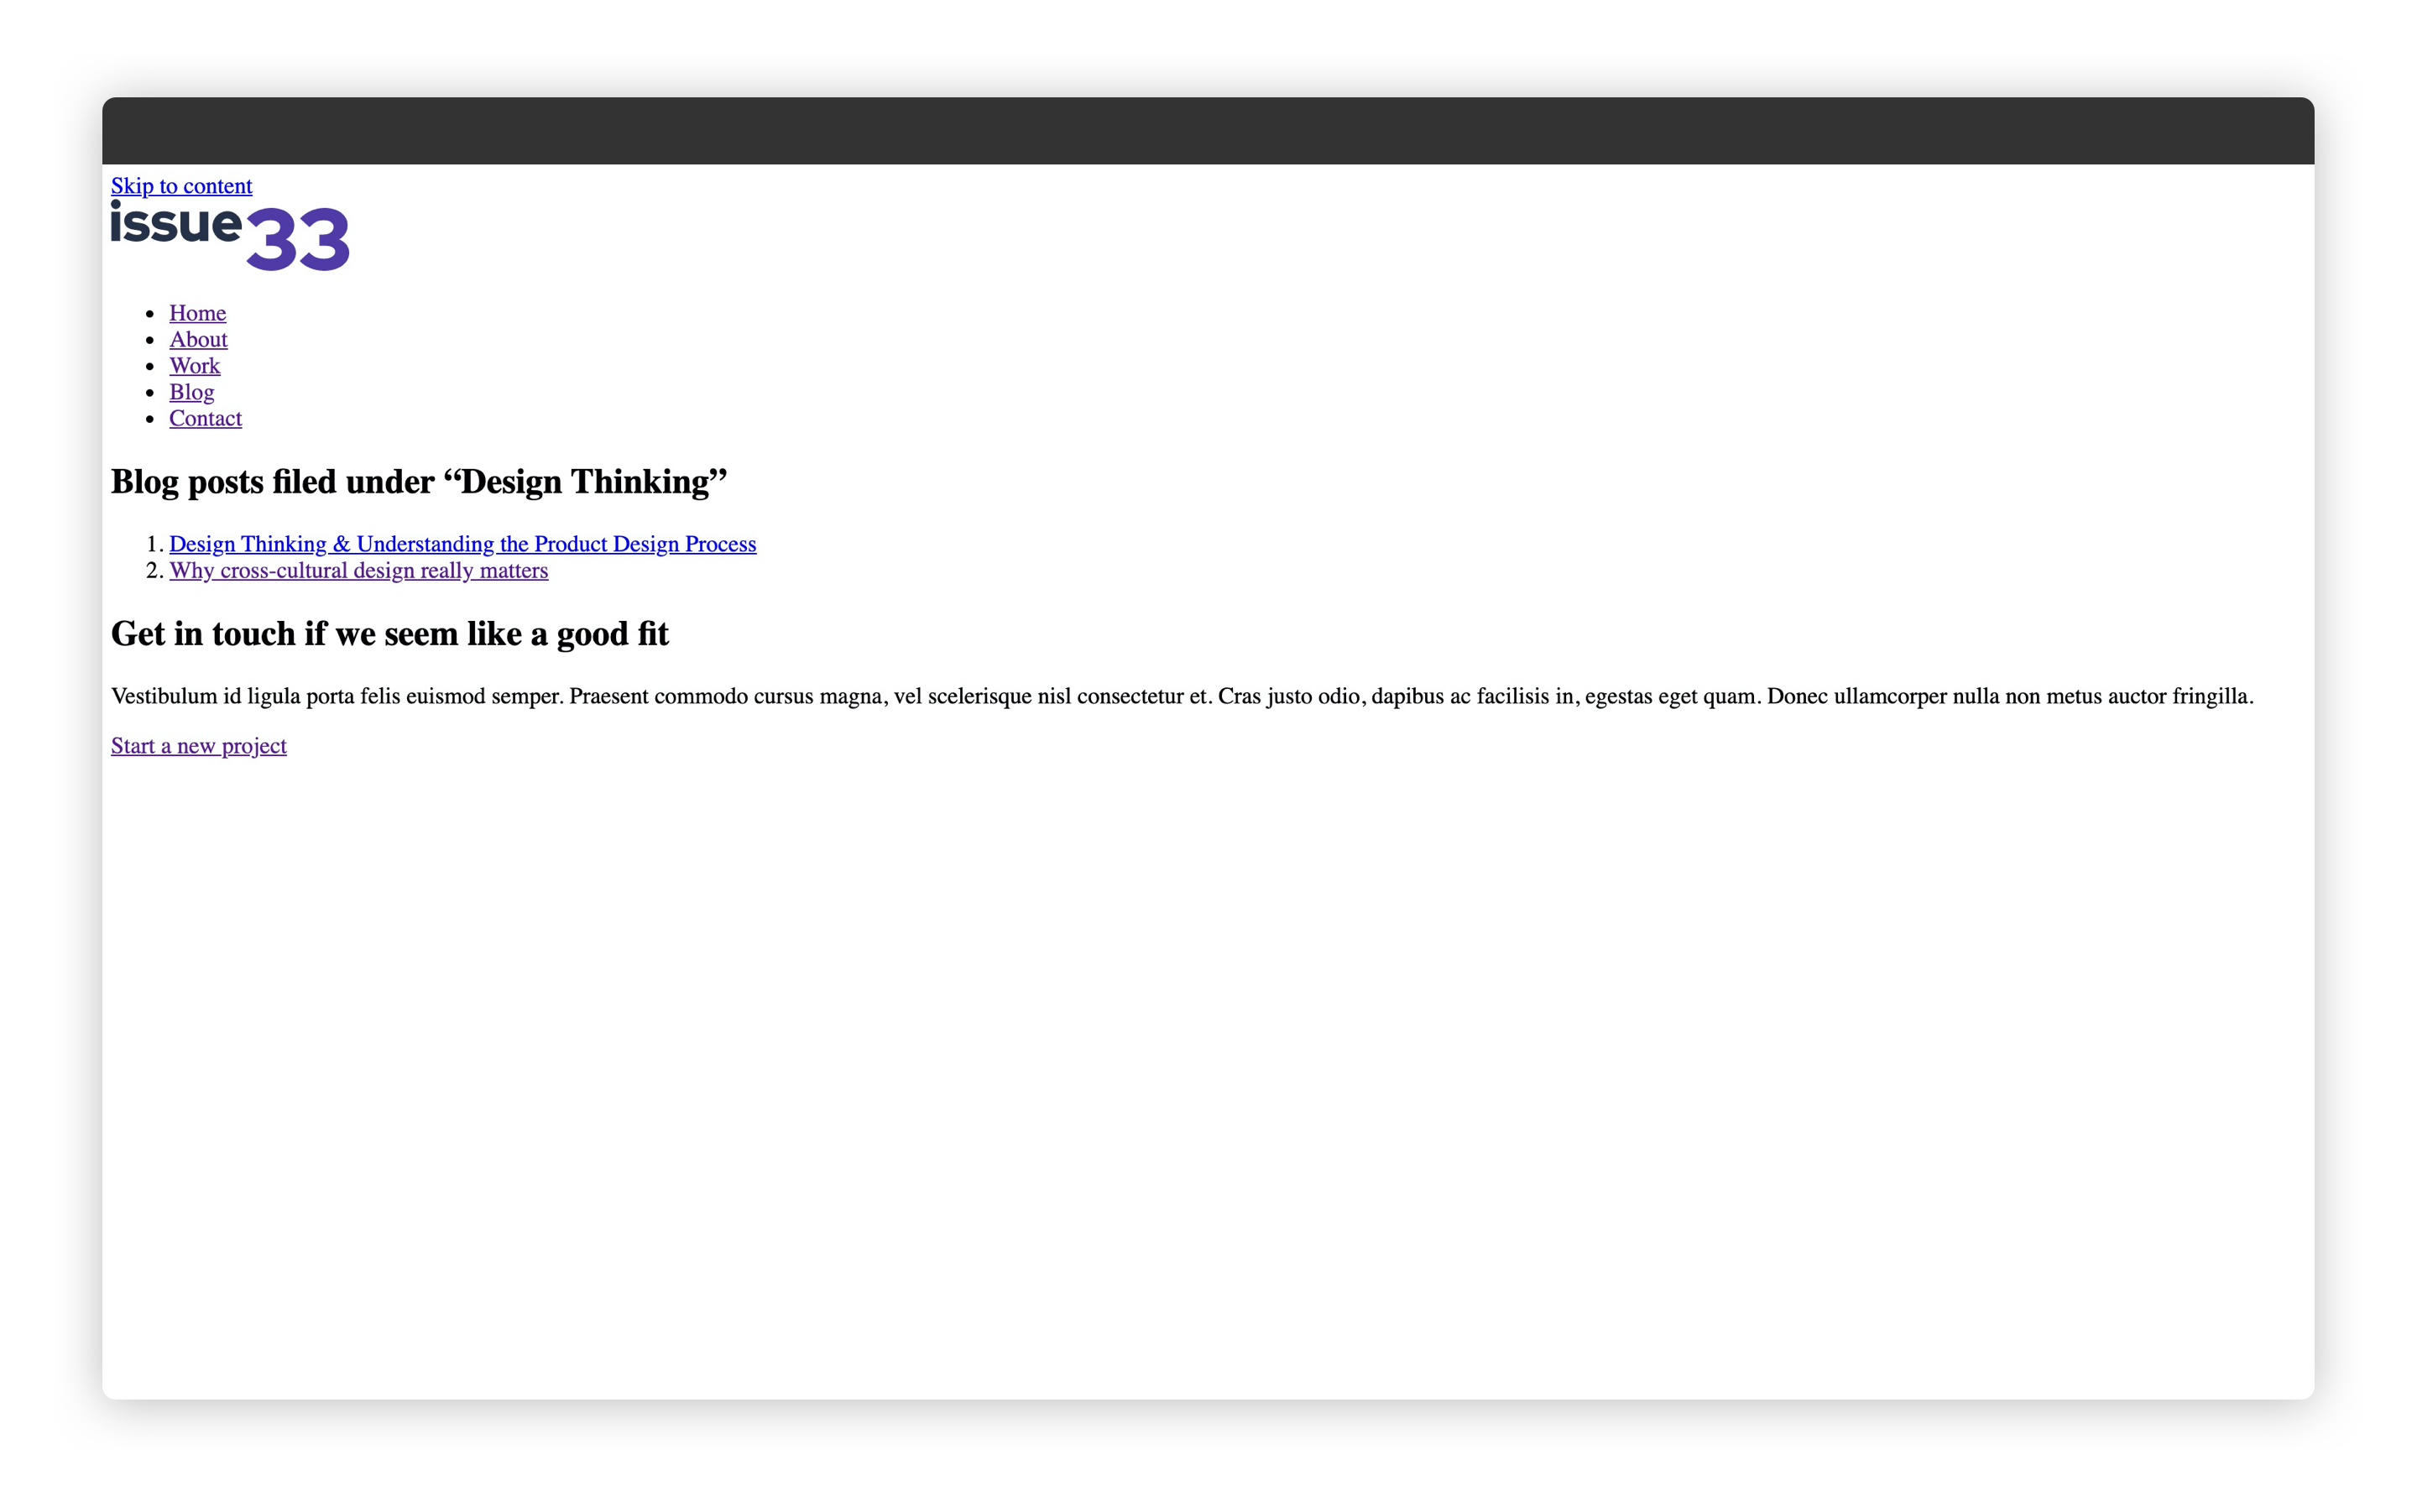
If you go to http://localhost:8080/tag/design-thinking/ (opens new window), you should see something that looks like this:
Right, let’s mark up a blog post template!
:::