# Lesson 16: Creating a work item page
The first part of this lesson is another chance to apply what we’ve learned previously by creating our work item page.
We’ll then go one step further and learn how you can create relationships with content by linking team members to the items they worked on.
# Adding our template
Create a new file in your layouts folder called work-item.html and add the following to it:
{% extends "layouts/base.html" %}

{% block content %}
<section class="work-item">
  <header class="hero">
    <div class="[ hero__inner ] [ wrapper ]">
      <div class="[ hero__content ] [ dot-shadow radius flow ] [ bg-dark-shade color-light flow-space-400 ]">
        <h1 class="[ headline ] [ measure-compact ]" data-highlight="quinary">
          {{ title }}
        </h1>
        <p class="measure-short">{{ summary }}</p>
      </div>
    </div>
    <img src="{{ hero.image }}" alt="{{ hero.imageAlt }}" class="hero__image" />
  </header>
  <article class="[ key-facts ] [ panel dot-shadow ] [ bg-primary-shade color-light ]">
    <div class="wrapper flow">
      <h2 class="headline" data-highlight="secondary">Key facts</h2>
      <div class="leading-flat font-sans weight-bold flow-space-700">
        <ol class="[ key-facts__list ] [ auto-grid ]">
          {% for item in keyFacts %}
            <li class="flow flow-space-300">
              <span class="text-700 lg:text-800 color-secondary-glare"
                >{{ item.primary }}</span
              >
              <span class="text-600 lg:text-700">{{ item.secondary }}</span>
            </li>
          {% endfor %}
        </ol>
      </div>
    </div>
  </article>
  <div class="wrapper">
    <article class="[ gallery ] [ flow flow-space-800 ]">
      {% for item in gallery %}
        <figure class="[ gallery__item ] [ flow ]">
          <div class="[ gallery__media ] [ frame ]" data-frame="primary">
            <img src="{{ item.image }}" alt="" aria-hidden="true" class="radius" />
          </div>
          <figcaption class="[ gallery__content ] [ flow ]">
            <h2 class="[ gallery__heading ] [ text-700 md:text-900 ]">
              {{ item.title }}
            </h2>
            <p class="[ gallery__summary ] [ measure-short flow-space-300 ]">
              {{ item.summary }}
            </p>
          </figcaption>
        </figure>
      {% endfor %}
    </article>
  </div>
</section>

{% include "partials/cta.html" %}

{% endblock %}
This should be all pretty straightforward for you by now, because we’ve already covered a lot it in this course. We’re grabbing Front Matter and applying it on the page. The gallery and keyFacts are both arrays of objects that we loop through and generate collections of content.
The gallery uses <figure> elements for the same reason as we covered earlier in the course: they are contained pieces of content with media and flow content (opens new window).
So far, so straightforward, right? Let’s turn up the heat a bit.
# Adding related content
Let’s spend a second thinking about our site’s context. It’s a website for a design agency and this template we’re working on is used for a portfolio item. These items will have had team members working on them. If you open up eleventy-from-scratch/src/work/outgoings.md and scroll to the end of the Front Matter, you should see this:
team: [1, 4, 6]
---
These reference items from the people collection which each have a key in their Front Matter. This key is used like an ID field and is what the team section of the work item Front Matter is referencing.
To break it down, we’re saying that team members 1, 4 and 6 worked on this project together. We need to find those team members in the people collection and put them on the page. The first thing we’ll do is grab them by creating a handy helper function.
Open up eleventy-from-scratch/src/_data/helpers.js. At the bottom of the file, inside of the last };, add the following:
/**
 * Take an array of keys and return back items that match.
 * Note: items in the collection must have a key attribute in
 * Front Matter
 *
 * @param {Array} collection 11ty collection
 * @param {Array} keys collection of keys
 * @returns {Array} result collection or empty
 */
filterCollectionByKeys(collection, keys) {
  return collection.filter(x => keys.includes(x.data.key));
}
TIP
Remember to add a comma at the end of the function that comes before this new one. The closing bracket of the previous function looked like this: }. It should now look like this: },.
Without this, the JavaScript will break.
The documentation on that function explains what it does for us. It takes a passed collection and some keys (array of numbers) and then, using filter(), returns back items that belong in keys.
Let’s apply this helper to our template. Open up eleventy-from-scratch/src/_includes/layouts/work-item.html. Just before the {% block content %} part, add the following:
{% set peopleItems = helpers.filterCollectionByKeys(collections.people, team) %}
What we do here is grab the people collection and then pass in the team array that’s set in our Front Matter. This will then return 3 people that match that criteria, which is now available in peopleItems.
Now we have that data, let’s render it. At the bottom of work-item.html, just before the closing </section>: add the following:
{% if peopleItems %}
  <article class="[ no-js-hidden ] [ panel dot-shadow ] [ bg-light-glare ]">
    <div class="[ wrapper ] [ flow flow-space-700 ]">
      <h2 class="[ headline ] [ measure-micro color-quinary ]" data-highlight="dark">
        Meet the team behind this project
      </h2>
      {% include "partials/people.html" %}
    </div>
  </article>
{% endif %}
Remember how peopleItems provides the partials/people.html with data for us? Well now that we’ve loaded peopleItems, via our helper, we can render them with this existing code. The rest of the HTML is providing us with some semantics and structure.
# Assigning our layout to our work items
Now we have all the code written we need to instruct all work items to use our new layout—just like with the posts in previous lessons.
Create a new file in your work folder called work.json and add the following.
{
  "layout": "layouts/work-item.html"
}
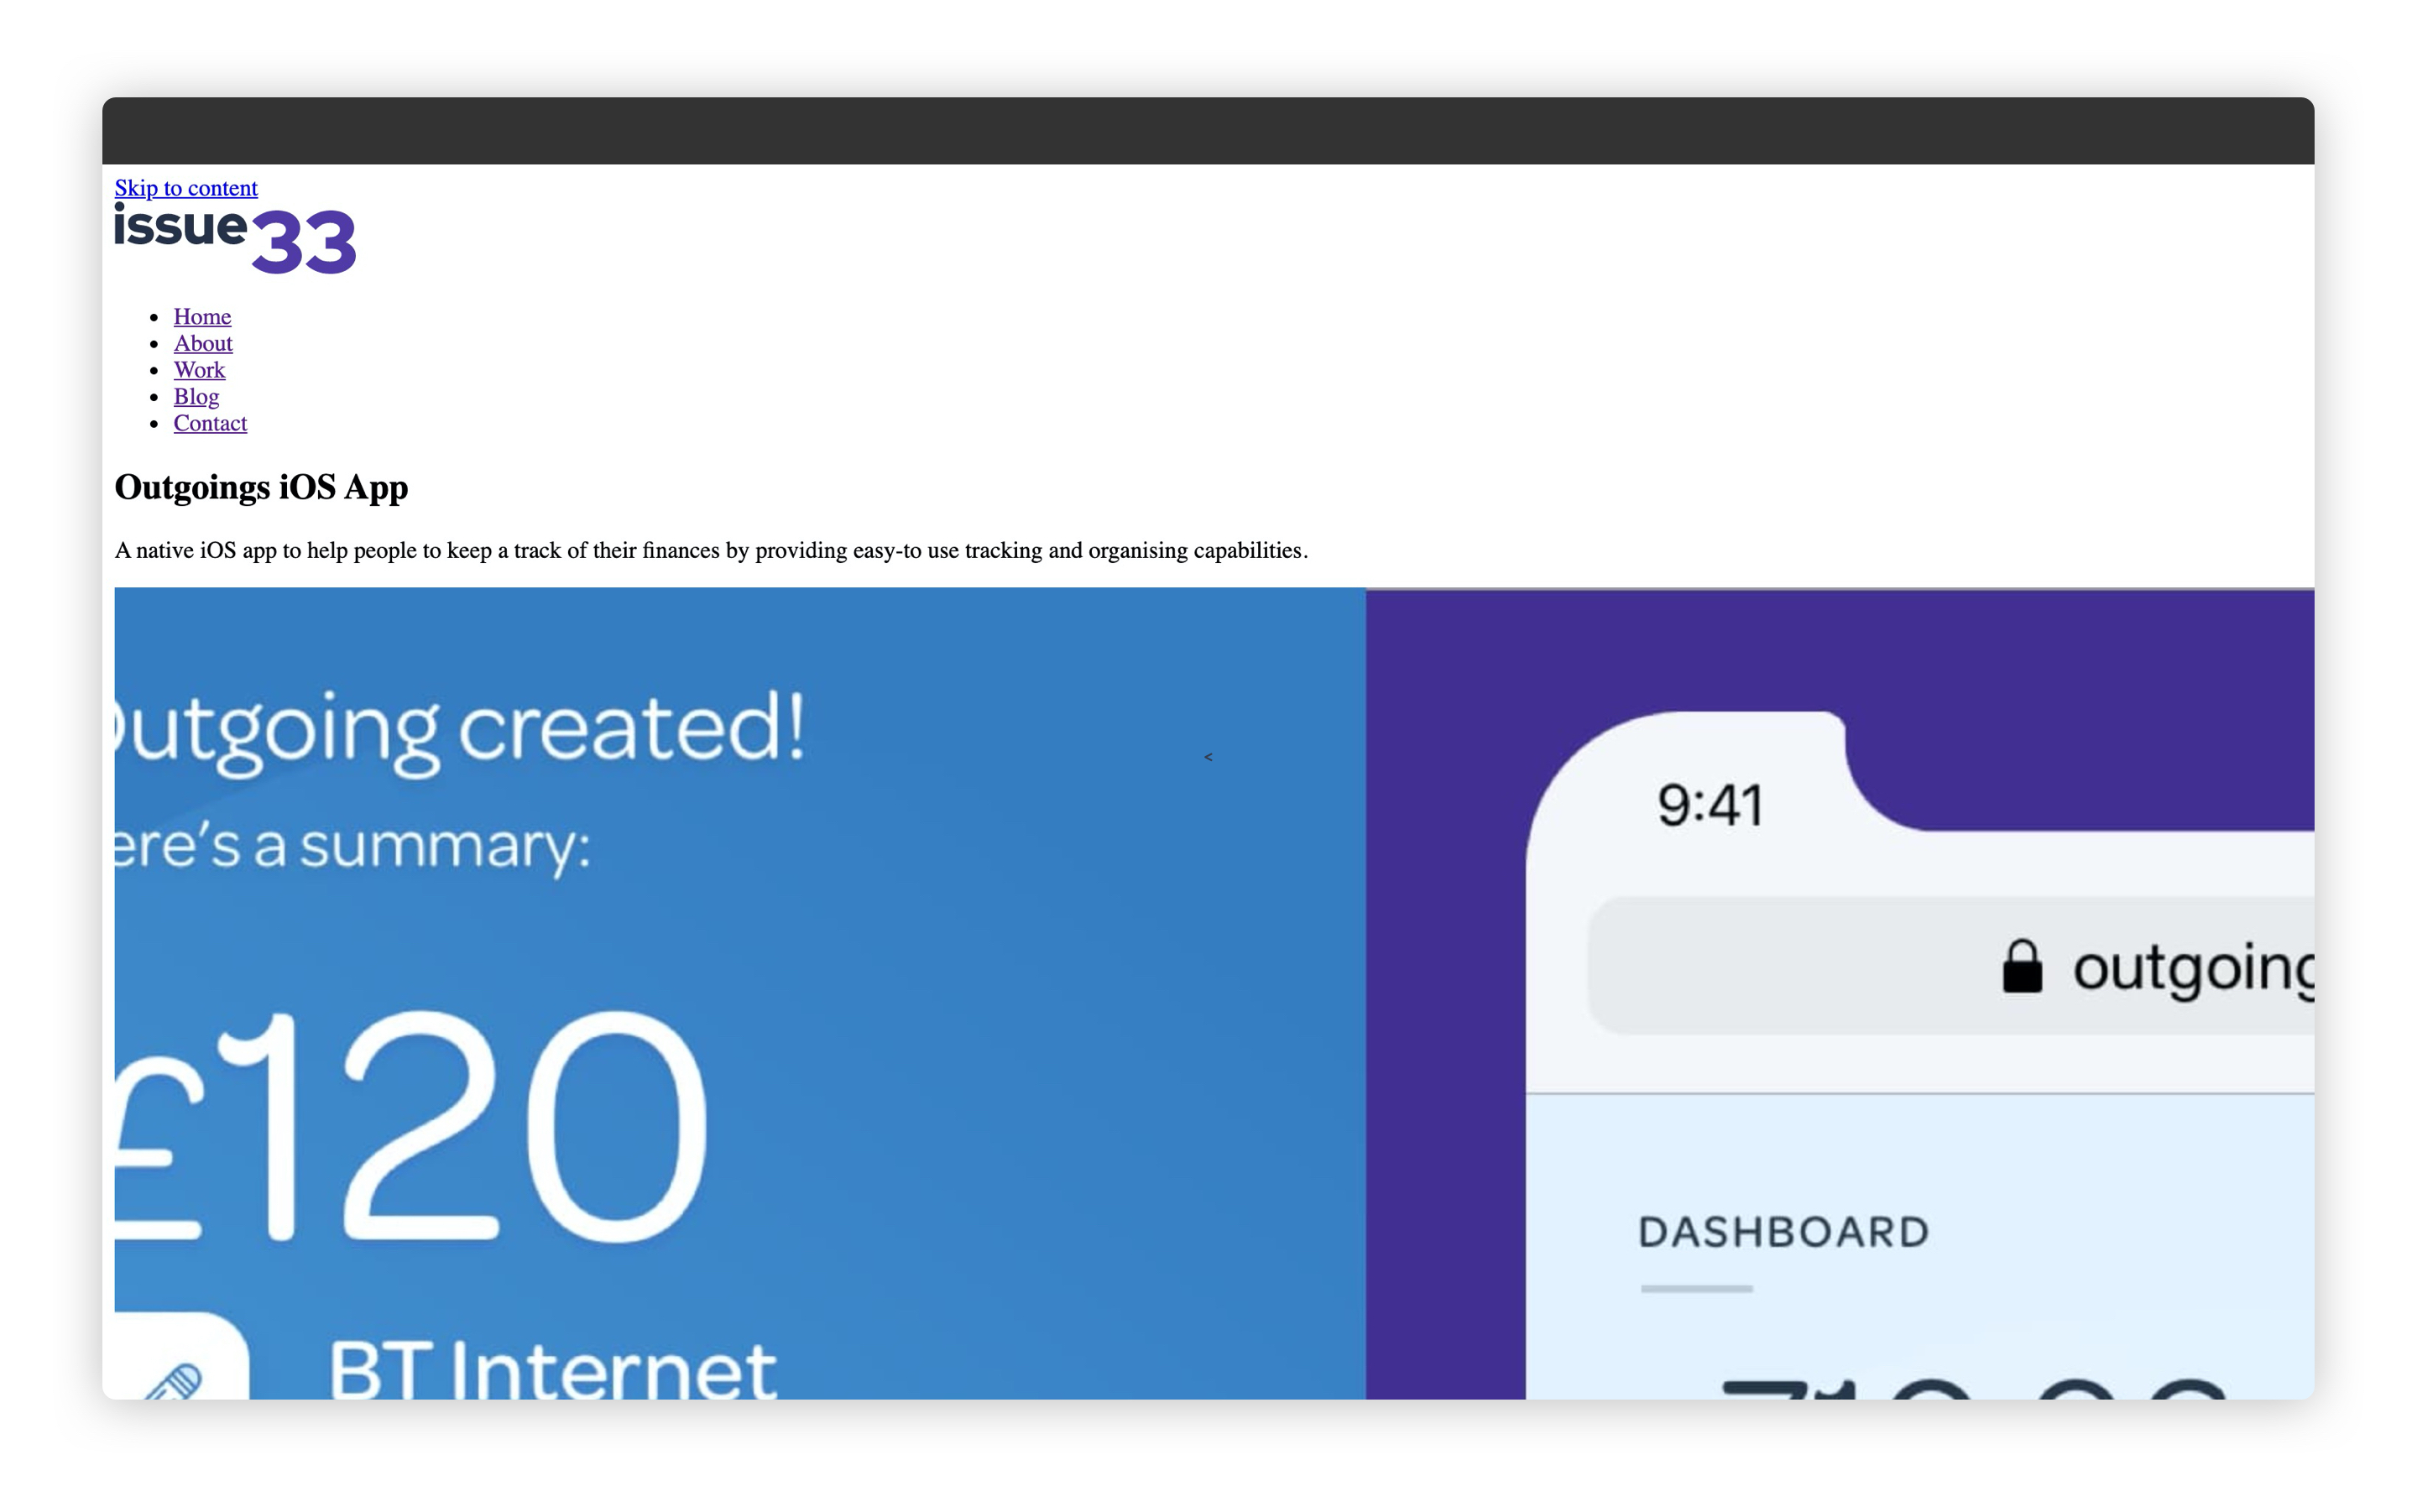
If you open up your browser at http://localhost:8080/work/outgoings/ (opens new window) it should now look like this:
# Wrapping up
Relationships between content aren’t often mentioned in coverage about SSGs like Eleventy, and I wanted to change that in this course. Creating this sort of relationship is really useful for when you’re building large sites.
The beauty of using a consistent key item in Front Matter (it could also be id if you wanted) is that we can also create flexible helpers to grab content for us, too.
Right, let’s move onto the last lesson of this module 🎉