# Lesson 31: Wrapping Up
We’ve got a beautiful website now, so let’s do some final tweaks to get it ready for production.
# Adding a social image and favicon
We’ll start by adding our default social image and favicon, then we’ll update our meta info partial. The first thing we need to do is download a couple of assets.
Now you’ve got them, take the meta folder from the zip you’ve just downloaded and copy it into your eleventy-from-scratch/src/images folder.
Now open eleventy-from-scratch/src/_includes/partials/meta-info.html and add the following on line 10:
{% if not socialImage %}
  {% set socialImage = site.url + '/images/meta/social-share.png' %}
{% endif %}
That links our default social image up for us to use this new asset if no image is defined in a page’s Front Matter.
At the bottom of eleventy-from-scratch/src/_includes/partials/meta-info.html, add the following:
<link rel="icon" href="/images/meta/favicon.svg" type="image/svg+xml" />
Because most browsers now support SVG shortcut icons/favicons, we’ll keep it simple for ourselves and just add that. You could, however, generate a full suite of icons, using a service like RealFaviconGenerator (opens new window).
# Minifying HTML output
Right, next up, we’re going to use a handy Eleventy feature called Transforms (opens new window). We’re going to grab each page as it’s built and minify the HTML, only if we are in production mode.
The reason why we only minify HTML in production mode is because this upcoming function is pretty heavy-duty, for understandable reasons, so it makes sense to only run it once per page.
Transforms are a bit like filters where we take the input, pass it though the Transform and then get the transformed output back in return. You can think of it a bit like how our Gulp tasks worked earlier in the course.
Let’s create the Transform code. Create a new folder by running the following in your terminal:
mkdir src/transforms
Now, create a new file called eleventy-from-scratch/src/transforms/html-min-transform.js and add the following to it:
const htmlmin = require('html-minifier');

module.exports = (value, outputPath) => {
  if (outputPath && outputPath.indexOf('.html') > -1) {
    return htmlmin.minify(value, {
      useShortDoctype: true,
      removeComments: true,
      collapseWhitespace: true,
      minifyCSS: true
    });
  }

  return value;
};
What this function does is first check each page to see if it’s an HTML file. If not, it returns it out, untouched. If it is a HTML file, it runs it through a package called html-minifier which gives us back some nice compressed HTML in return.
We’ve got a new package here, so let’s install it. In your terminal, run the following:
npm install html-minifier
Now that’s installed, let’s wire it up.
Open up eleventy-from-scratch/.eleventy.js and on around line 6, add the following:
// Transforms
const htmlMinTransform = require('./src/transforms/html-min-transform.js');

// Create a helpful production flag
const isProduction = process.env.NODE_ENV === 'production';
We’ve imported our Transform, and just like in our Gulp tasks, we’re determining whether or not we’re in production mode.
Now, in the same file, on around line 20, delete the following:
// Set directories to pass through to the dist folder
config.addPassthroughCopy('./src/images/');
Now, replace it with the following:
// Only minify HTML if we are in production because it slows builds _right_ down
if (isProduction) {
  config.addTransform('htmlmin', htmlMinTransform);
}
This wires up our htmlMinTransform Transform, only if we are in production mode.
# Netlify config
You can deploy this site wherever you want because it’s a static site. You can also deploy to Netlify (opens new window) for free.
Read this handy guide on deploying to Netlify (opens new window). It’ll give you all the info you need.
For now, though, let’s give Netlify a helping hand. Create a new file called eleventy-from-scratch/netlify.toml and add the following to it:
[build]
  command = "npm run production"
  publish = "dist"
What we’re doing here is saying to Netlify: “to deploy this site, run the production task from our package.json file and then publish the dist folder that you created.”
Job done!
# Testing our production task
We already created our production task, so all we need to do now is run it.
In your terminal, stop Eleventy if it’s running and run the following:
npm run production
Then, run this:
cd dist && npx serve
This runs a package called serve (opens new window) which runs a local server with your production ready website.
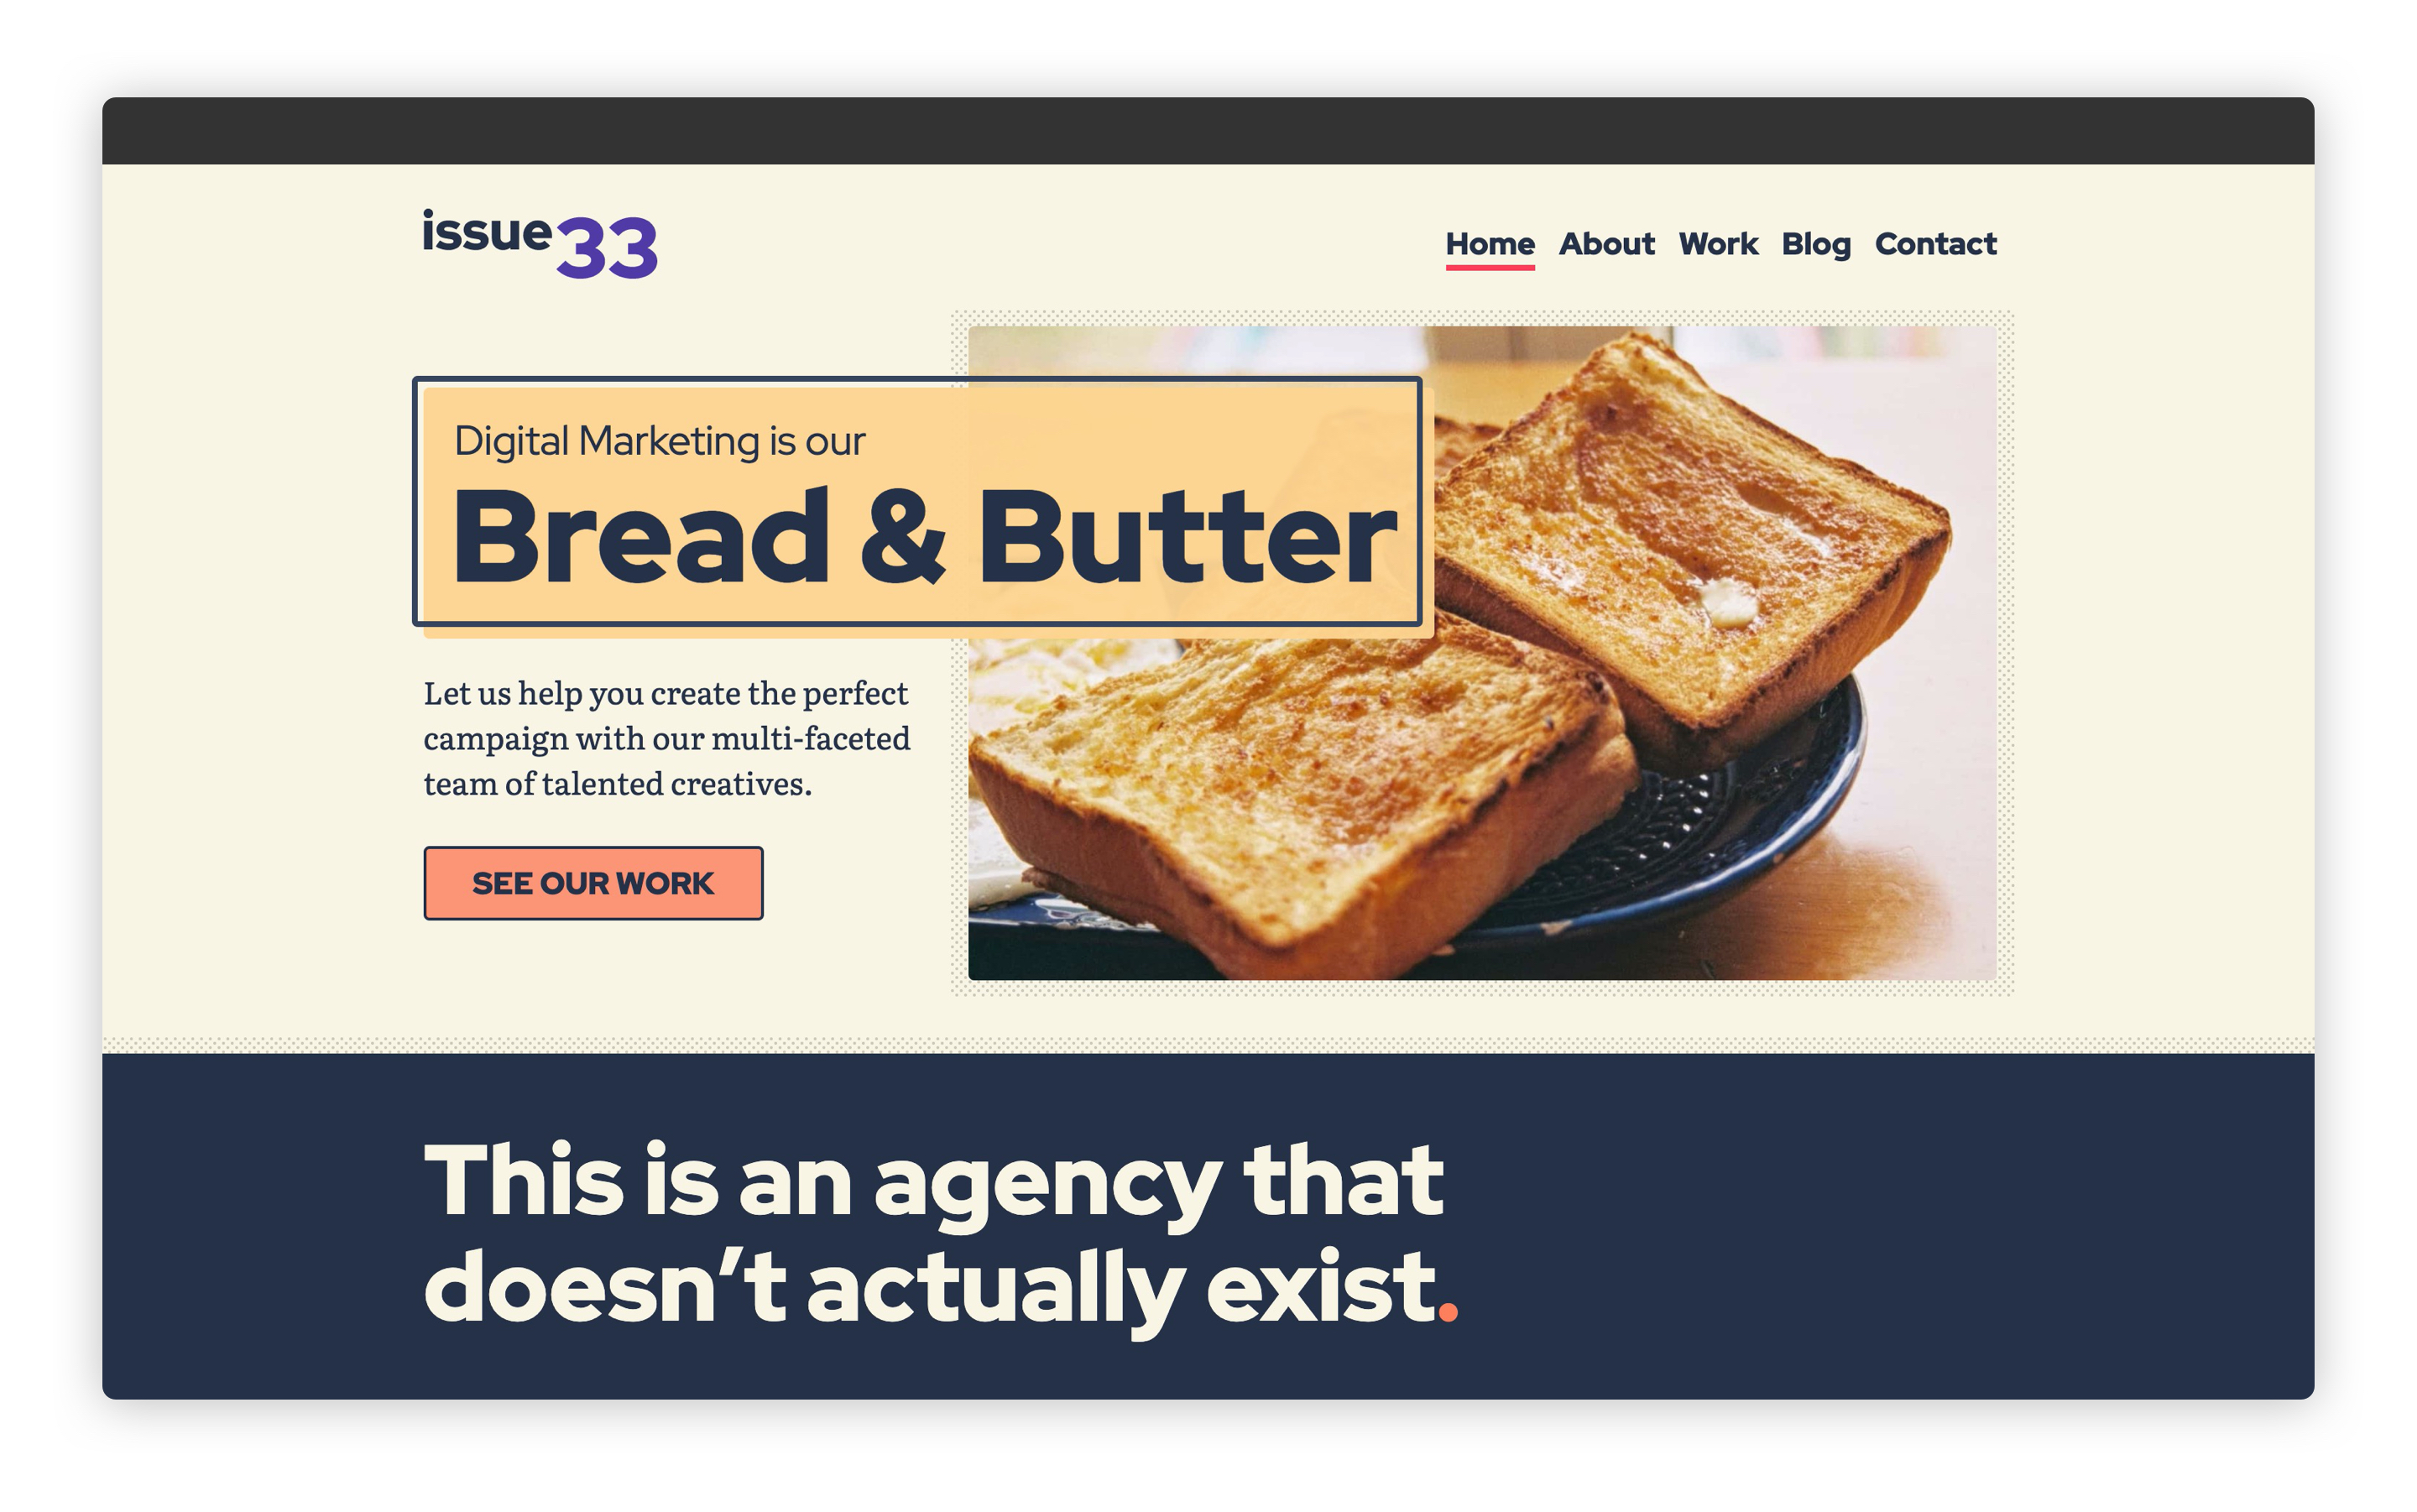
If you go to http://localhost:5000 (opens new window), you should see this:
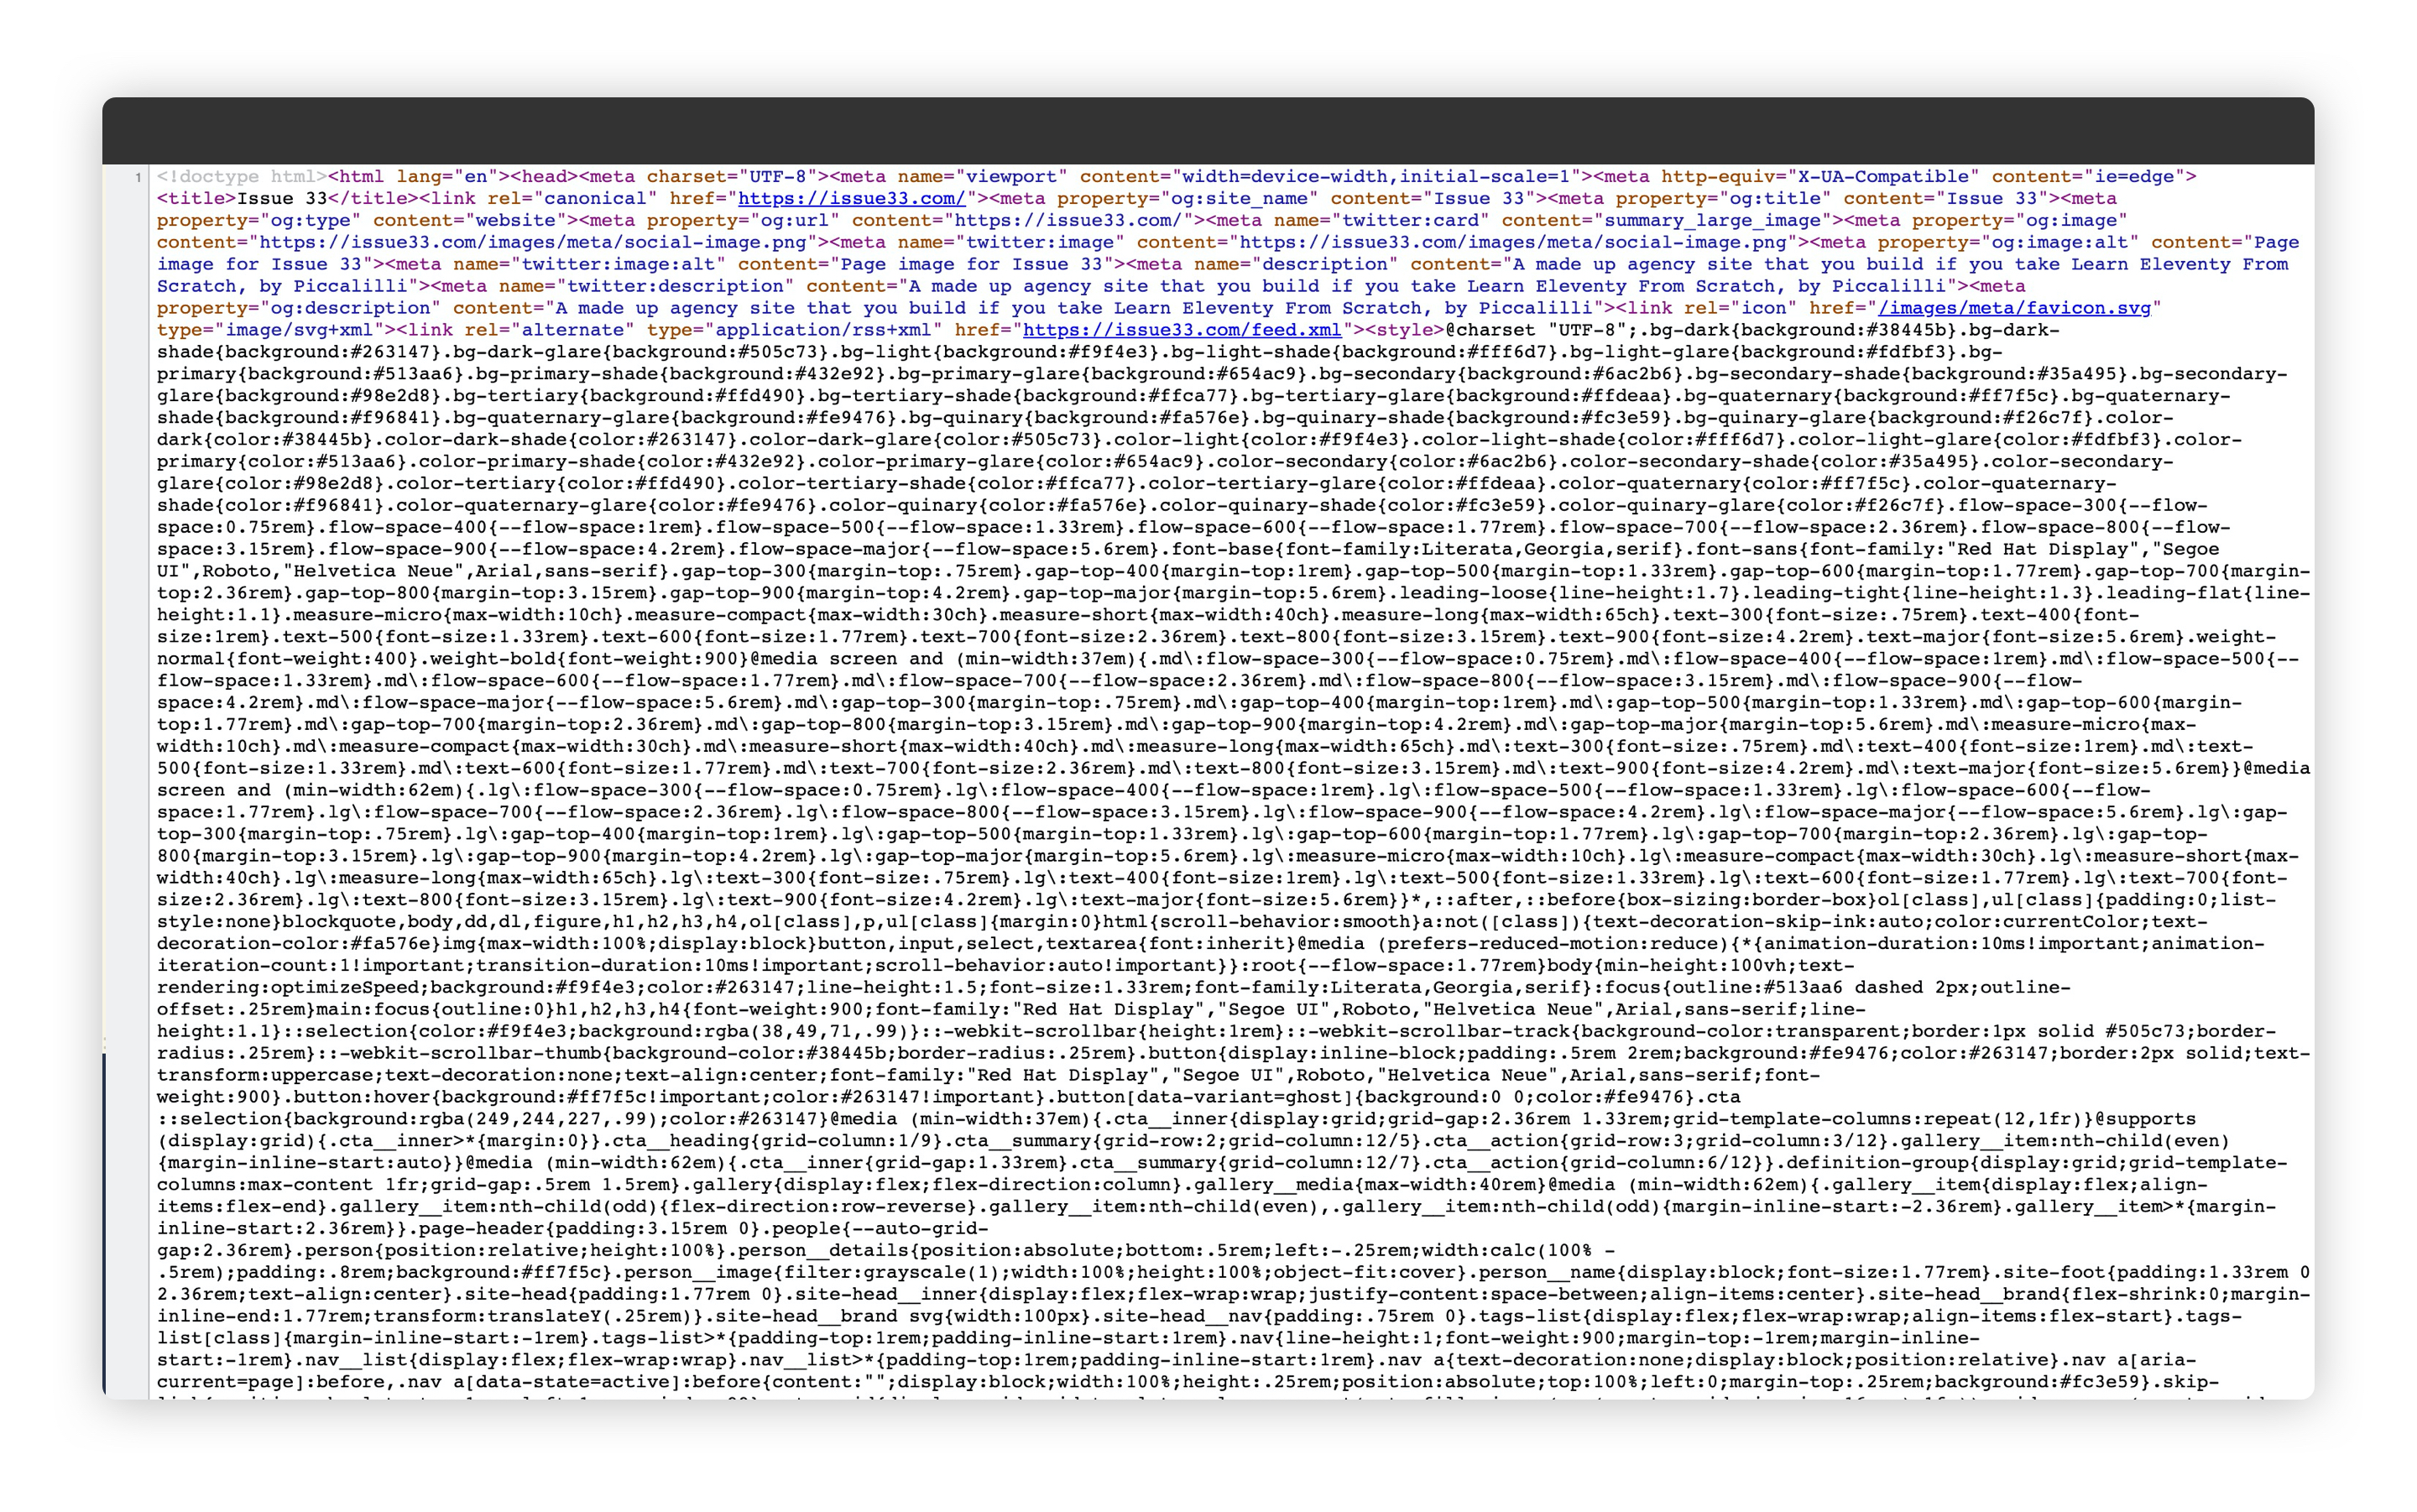
If you view the source, it should look like this:
# The end
That’s it—we’ve finished this course. Huge congratulations to you for getting this far. You’ve learned so much by completing this course and I really hope that you take these new skills and apply them into making some truly magnificent work.
# What can you do now?
Here are some ways you can build on what you’ve learned:
- Apply your own design and front-end to your new website.
- Try to get 100’s across the board on lighthouse (opens new window) (we’re most of the way there already).
- Add some new sections to this site, or even remove some.
- Create your own personal site and blog using the Eleventy and the front-end development skills you’ve learned in this course.
If you do make something, I would love to see it. I teach because I love to see people skill up—it brings me a lot of joy.
If you do build something with the skills that I’ve taught you during this course, I’d be over the moon if you Tweet me a link to @piccalilli_ (opens new window), or post on any social network using the hashtag #ILearnedEleventyFromScratch.
If you’ve enjoyed this course, I’d love you to share it with your friends. That would be hugely appreciated. Here’s a Tweet template to help with that (opens new window).
# Thank you
I’ll start by thanking you for purchasing this course and supporting my work. I really, really appreciate that.
My family gets the biggest thanks because they’ve put up with me obsessing over this course for months and have always supported me throughout the whole thing.
I also want to give a huge thanks to my editor, Amy Hupe (opens new window). She has shaped all of the words into something truly special and has made a huge impact on the quality of the final product.
Next, I want to extend a special thanks to Cassie Evans (opens new window), who took a very early version of this course and test-drove it for me; their feedback improved it tenfold.
Finally, I would love to thank the designers who I commissioned to create work pieces for our project site. They are Faith Egwuenu (opens new window), Bobbi Reyda (opens new window), Saoirse Mullan (opens new window), and Samuel Arhore (opens new window).
Until next time, take it easy 👋