# Lesson 7: Data basics
Now that we’ve fragmented our code into partials, let’s make them more dynamic. We’re going to add some data to the site.
Eleventy has a very useful global data system (opens new window) that we’re going to tap into.
Any sort of data (JSON, JS, YAML) that we add to eleventy-from-scratch/src/_data will become available to us in our templates. For example, if we add a file called site.json it will be available in our templates as site. In fact, let’s demonstrate it now, in our project. That’s the best way to learn!
First of all, we need to create the folder, so run this command in your terminal:
mkdir src/_data
Now, go to your new _data folder in your text editor and, inside it, create a new file called site.json. Add the following to it:
{
  "name": "Issue 33",
  "url": "https://issue33.com"
}
TIP
The https://issue33.com (opens new window) URL is the live site for the project you are building right now. You can change this to whatever the URL would be if you were going to also publish the site at the end of this course.
Now that we have our data, we’re going to update the site header that we created in the last lesson. Open up eleventy-from-scratch/src/_includes/partials/site-head.html.
Find the line <a href="/" aria-label="Issue 33 - home" class="site-head__brand"> and replace it with this:
<a href="/" aria-label="{{ site.name }} - home" class="site-head__brand">
Remember how we learned that site.json automatically becomes site in our templates? This is it in practice.
In this example, we’re adding the site name to our site header. We’re accessing the name element with {{ site.name }}.
# Wiring up our navigation
That’s all pretty useful, but let’s push the boat out and make our navigation dynamic.
In your _data folder, create a new file called navigation.json and add the following to it:
{
  "items": [
    {
      "text": "Home",
      "url": "/"
    },
    {
      "text": "About",
      "url": "/about-us/"
    },
    {
      "text": "Work",
      "url": "/work/"
    },
    {
      "text": "Blog",
      "url": "/blog/"
    },
    {
      "text": "Contact",
      "url": "/contact/"
    }
  ]
}
This is a nice little array of objects which link to all of the top-level pages of our website (which we still have to create). Now let’s wire this data up to our site header’s <nav> element.
Open up eleventy-from-scratch/src/_includes/partials/site-head.html. Delete the <ul class="nav__list"> element, with all of its children, and add the following:
<ul class="nav__list">
  {% for item in navigation.items %}
  <li>
    <a href="{{ item.url }}">{{ item.text }}</a>
  </li>
  {% endfor %}
</ul>
Because our navigation data lives in navigation.json, we can access it with navigation in our templates. We then use a Nunjucks loop to go through each item and create a link with it.
This is useful, sure, but we also need to add active states to our links. We’re going to learn probably my favourite Eleventy feature: JavaScript data files
That’s right: we can write JavaScript and make it as easily accessible to templates as static data. I like to use this facility to create helper functions, amongst many other things, so that’s what we’ll do now.
In your _data folder, create a new file called helpers.js and add the following to it:
module.exports = {
  /**
   * Returns back some attributes based on whether the
   * link is active or a parent of an active item
   *
   * @param {String} itemUrl The link in question
   * @param {String} pageUrl The page context
   * @returns {String} The attributes or empty
   */
  getLinkActiveState(itemUrl, pageUrl) {
    let response = '';

    if (itemUrl === pageUrl) {
      response = ' aria-current="page"';
    }

    if (itemUrl.length > 1 && pageUrl.indexOf(itemUrl) === 0) {
      response += ' data-state="active"';
    }

    return response;
  }
};
In this helper function, we pass in an item from navigation.items and the current page URL. We then return back some attributes, depending on state.
- If the page URL is a match with the item URL, then we know it is the current page that the user’s on, so we set a handy aria role of
aria-current="page". This role does exactly what it says on the tin and tells screen reader users that this item’s link is to the current page that they are on. - If the page URL is not a match with the item URL, but the URL features in the page URL, we know it’s a child of the item. We return a
data-state="active"attribute—a CSS hook that we use to add a decoration to the item to show the user they’re already in that bit of the site. Because it’s a data attribute, it won’t confuse screen reader users, either.
Just like site and navigation, our helpers.js is accessible via helpers, so let’s implement it on our navigation items.
Open up site-head.html and, like we did before, delete the <ul class="nav__list"> element and all of its children, and replace it with the following:
<ul class="nav__list">
  {% for item in navigation.items %}
  <li>
    <a href="{{ item.url }}" {{ helpers.getLinkActiveState(item.url, page.url) | safe }}
      >{{ item.text }}</a
    >
  </li>
  {% endfor %}
</ul>
We’ve added that reference to the getLinkActiveState function that we wrote in the previous example, via the helpers JavaScript data file. Now, our navigation will be completely dynamic, based on each page that we go to.
TIP
Eleventy also provides global data to us. As you can see in the navigation, we reference a page item, which contains lots of useful information about the current page we’re on. You can read about the page variable contents in the Eleventy docs
# Cascading data
Now it’s time to really push the boat out. You might have noticed that there’s a global call to action at the bottom of each page in the demo site. We can use global data to wire this up, too. So let’s do that.
Create a new file in your _data folder called cta.json and add the following to it:
{
  "title": "Get in touch if we seem like a good fit",
  "summary": "Vestibulum id ligula porta felis euismod semper. Praesent commodo cursus magna, vel scelerisque nisl consectetur et. Cras justo odio, dapibus ac facilisis in, egestas eget quam. Donec ullamcorper nulla non metus auctor fringilla.",
  "buttonText": "Start a new project",
  "buttonUrl": "/contact/"
}
Let’s render it with a new partial.
In your partials folder, create a new file called cta.html and add the following to it:
{% set ctaPrefix = cta %}

{% if ctaContent %}
  {% set ctaPrefix = ctaContent %}
{% endif %}

<article class="[ cta ] [ dot-shadow panel ] [ bg-dark-shade color-light ]">
  <div class="wrapper">
    <div class="[ cta__inner ] [ flow ]">
      <h2 class="[ cta__heading ] [ headline ]" data-highlight="quaternary">{{ ctaPrefix.title }}</h2>
      <p class="[ cta__summary ] [ measure-short ]">{{ ctaPrefix.summary }}</p>
      <div class="cta__action">
        <a class="button" data-variant="ghost" href="{{ ctaPrefix.buttonUrl }}">{{ ctaPrefix.buttonText }}</a>
      </div>
    </div>
  </div>
</article>
What we’re doing in this example is pulling that content from cta.json, by setting ctaPrefix as cta. We do this using the Nunjucks {% set %} feature (opens new window) that lets us create variables.
Then what we do is check to see if ctaContent is defined. If it is: we override the ctaPrefix with that variable.
Why would we do that though? We do it because we might want to override that content on a per-instance basis.
For example, on the home page, there are two calls to action. One is the global one, that appears on every page, and the other is something that only appears on our home page.
To make this happen, we create two references to our partial. For one of them, we want to use the global content from cta.json, but for the other one, we’ll set the content in our Front Matter.
Open up eleventy-from-scratch/src/_includes/layouts/home.html and after the </article>, add the following:
{% set ctaContent = primaryCTA %}
{% include "partials/cta.html" %}

{% set ctaContent = cta %}
{% include "partials/cta.html" %}
Here, we’re including each partial and setting the ctaContent variable. Partials can access variables that are set from outside of them. This is both a blessing and a curse, as we can see here. Because we set ctaContent as primaryCTA—which is content that we will add to our home page—we have to reset it back to cta further down the page. It’s slightly annoying, but in most cases, that call to action will use global data, which makes our approach ideal.
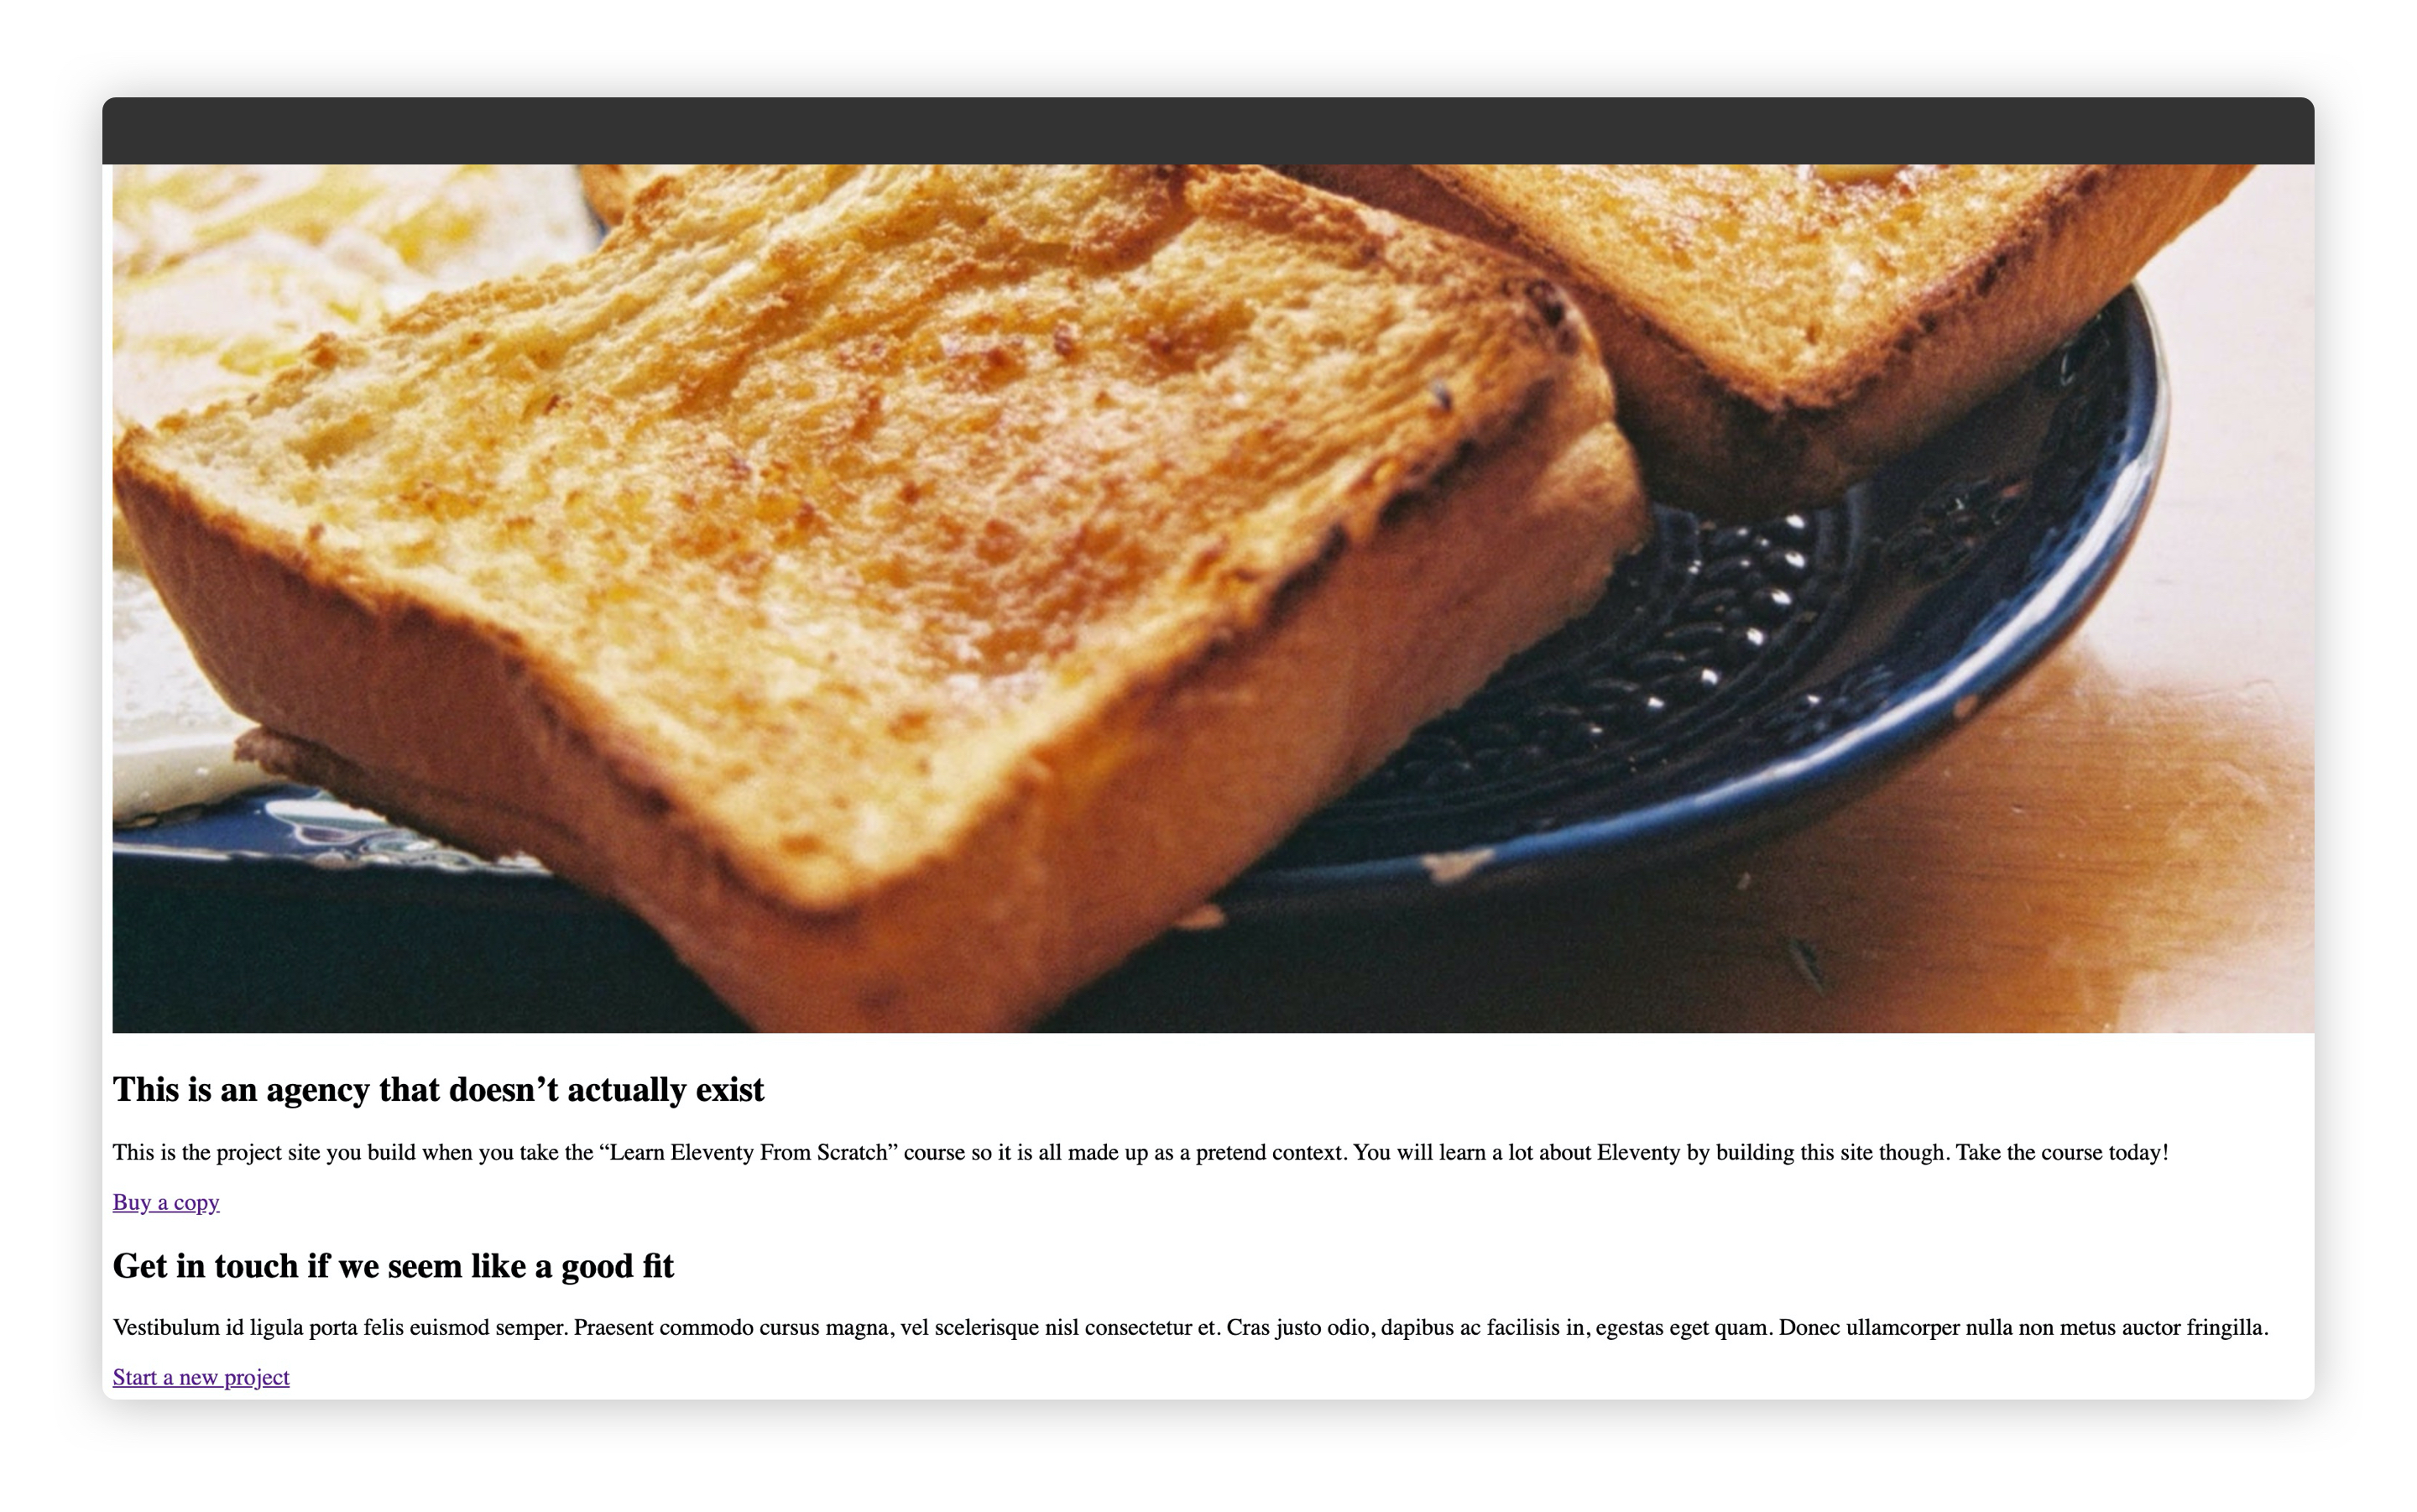
Now open eleventy-from-scratch/src/index.md and at the bottom of the Front Matter (the last --- bit), add the following:
primaryCTA:
  title: 'This is an agency that doesn’t actually exist'
  summary: 'This is the project site you build when you take the “Learn
    Eleventy From Scratch” course so it is all made up as a pretend
    context. You will learn a lot about Eleventy by building this site
    though. Take the course today!'
  buttonText: 'Buy a copy'
  buttonUrl: 'https://learneleventyfromscratch.com'
If you save that, open your browser at http://localhost:8080 (opens new window) and scroll down, it should look like this:
# Wrapping up
Holy moly, that was a lot, right? We’ve really dug into some core concepts of Eleventy here though, so you should now feel really good about yourself.
We’re going to learn even more about Eleventy’s data capabilities later on because they are what sets it apart from other SSGs. Lots of power with lots of simplicity!
Take a break, because the next lesson is a very important one.
:::