# Lesson 8: Creating our first collection
Collections are magical in Eleventy and there are a few ways that we can create them. Sometimes they’re created automatically, like when we use tags, but we can also create our own, which is what we'll do in this lesson.
# What are collections?
Think of collections as groups of content. They’re a handy way to be able to access types of content in similar way to how we accessed data in the last lesson.
Let’s use our site as an example. We’ve got work, people and blog sections of the site. Each one of those sections needs items of content, so for each of those, we’ll create a collection. This means we can access their content, which is currently a folder full of markdown files, wherever we need it.
It’s worth reading Eleventy’s documentation on collections (opens new window)—they’re really well explained. We’ll be covering some of the ways of creating and paging over collections later in the course, too.
# Creating our first collection
Let’s focus our attention on the work section because we need to create a featured work partial for the home page.
Open up eleventy-from-scratch/.eleventy.js and add the following code wherever you like, before the return, within the module.exports = config => { function:
// Returns work items, sorted by display order
config.addCollection('work', collection => {
  return collection
    .getFilteredByGlob('./src/work/*.md')
    .sort((a, b) => (Number(a.data.displayOrder) > Number(b.data.displayOrder) ? 1 : -1));
});
There’s quite a lot happening here, so let’s break it down.
First of all, we’ve added a named collection to our Eleventy config called “work”. The parameter that is passed into our function is an instance of the Eleventy collection API (opens new window).
Using that API, we’re telling Eleventy to find all markdown files that live inside of the eleventy-from-scratch/src/work folder. This returns an array, so we can use the sort() method to compare each work item’s displayOrder and sort them accordingly.
Where is that display order coming from though? It’s coming from the work item’s Front Matter. We added the work items in our starter files back in lesson 1, so let’s have a quick look at some of the Front Matter:
---
title: 'Outgoings iOS App'
summary: 'A native iOS app to help people to keep a track of their finances by providing easy-to use tracking and organising capabilities.'
displayOrder: 1
featured: true
---
As you can see, displayOrder is hanging out in there. We access Front Matter in collections with the data prefix, because if you remember from lesson 4, Front Matter is the data for a piece of content.
Now we understand what’s going on with collections, let’s create another one. This time it’s for featured work items, which is what we need for our home page feed.
Under the last collection we created in .eleventy.js, add the following:
config.addCollection('featuredWork', collection => {
  return collection
    .getFilteredByGlob('./src/work/*.md')
    .sort((a, b) => (Number(a.data.displayOrder) > Number(b.data.displayOrder) ? 1 : -1))
    .filter(x => x.data.featured);
});
This pretty much does the same as the last collection we created, but this time, after sorting items into the right order, it filters items that have featured: true in their Front Matter.
TIP
Hopefully this course and project are starting to show you how immensely powerful Front Matter is in Eleventy. Not only does it give us structured content on a page-level, but it also lets us structure content at a collection level too.
Later on, we’re going to push that even further by creating relationships between different content from around the site.
# Refactoring our collections
These two collections work fine, but let’s try and remove a bit of the duplication. We use the same sorting functionality on both collection methods, so let’s create a utility for that.
First of all, run this command in your terminal to create a new folder for our utilities:
mkdir src/utils
Once you’ve done that, create a file inside your newly added utils folder called sort-by-display-order.js and add the following to it:
/**
 * Takes a collection and returns it back in display order
 *
 * @param {Array} collection The 11ty collection
 * @returns {Array} the sorted collection
 */
module.exports = collection =>
  collection.sort((a, b) =>
    Number(a.data.displayOrder) > Number(b.data.displayOrder) ? 1 : -1
  );
This does exactly the same as before, but it’s nice and contained in this utility now.
Next up, open eleventy-from-scratch/.eleventy.js and delete the two new collections that you created (I know, very dramatic). Then on line 1 add the following:
const sortByDisplayOrder = require('./src/utils/sort-by-display-order.js');
Then, where you added your collections before, add the following:
// Returns work items, sorted by display order
config.addCollection('work', collection => {
  return sortByDisplayOrder(collection.getFilteredByGlob('./src/work/*.md'));
});

// Returns work items, sorted by display order then filtered by featured
config.addCollection('featuredWork', collection => {
  return sortByDisplayOrder(collection.getFilteredByGlob('./src/work/*.md')).filter(
    x => x.data.featured
  );
});
Lovely stuff. We’ve tidied them up nicely.
# Rendering our featured work partial
Now that we’ve got those collections to work with, let’s put them to work.
Inside your partials folder, create a new file called featured-work.html and in it, add the following:
<article class="[ featured-work ] [ dot-shadow panel ] [ bg-light-glare ]">
  <div class="[ wrapper ] [ flow ]">
    <div class="[ featured-work__inner ] [ flow ]">
      <div class="[ featured-work__intro ] [ flow flow-space-300 ]">
        <h2
          class="[ featured-work__heading ] [ headline ] [ color-quinary-shade lg:measure-micro ]"
          data-highlight="dark"
        >
          {{ featuredWork.title }}
        </h2>
        <p class="[ featured-work__summary ] [ measure-compact ]">
          {{ featuredWork.summary }}
        </p>
      </div>
      {% for item in collections.featuredWork %}
      <a
        href="{{ item.url }}"
        aria-label="See {{ item.data.title }}"
        class="[ featured-work__item ] [ frame ]"
        data-frame="quaternary"
      >
        <img
          src="{{ item.data.hero.image }}"
          alt="{{ item.data.hero.imageAlt }}"
          loading="lazy"
          class="radius"
        />
      </a>
      {% endfor %}
    </div>
    <div class="[ featured-work__action ] [ flow-space-700 ]">
      <a href="/work/" class="button">See more work</a>
    </div>
  </div>
</article>
We know a lot of what’s going on here already. We’ve got a featuredWork object—that’s Front Matter defined in eleventy-from-scratch/src/index.md which we’ll add in a minute.
Let’s zoom in on the collections code though:
{% for item in collections.featuredWork %}
  <a href="{{ item.url }}" aria-label="See {{ item.data.title }}" class="[ featured-work__item ] [ frame ]" data-frame="quaternary">
    <img src="{{ item.data.hero.image }}" alt="{{ item.data.hero.imageAlt }}" loading="lazy" class="radius" />
  </a>
{% endfor %}
Do you remember how data files were accessible globally? Collections are exactly the same, so to access our featuredWork collection, we use collections.featuredWork which gives us that sorted array of items that have featured: true in their Front Matter.
Let’s add this partial to our home page. Open up eleventy-from-scratch/src/_includes/layouts/home.html and in between the two cta partials that we added earlier add the following:
{% include "partials/featured-work.html" %}
That means that section of the home page template should look like this:
{% set ctaContent = primaryCTA %}
{% include "partials/cta.html" %}

{% include "partials/featured-work.html" %}

{% set ctaContent = cta %}
{% include "partials/cta.html" %}
Then, open up eleventy-from-scratch/src/index.md and add the following to the Front Matter:
featuredWork:
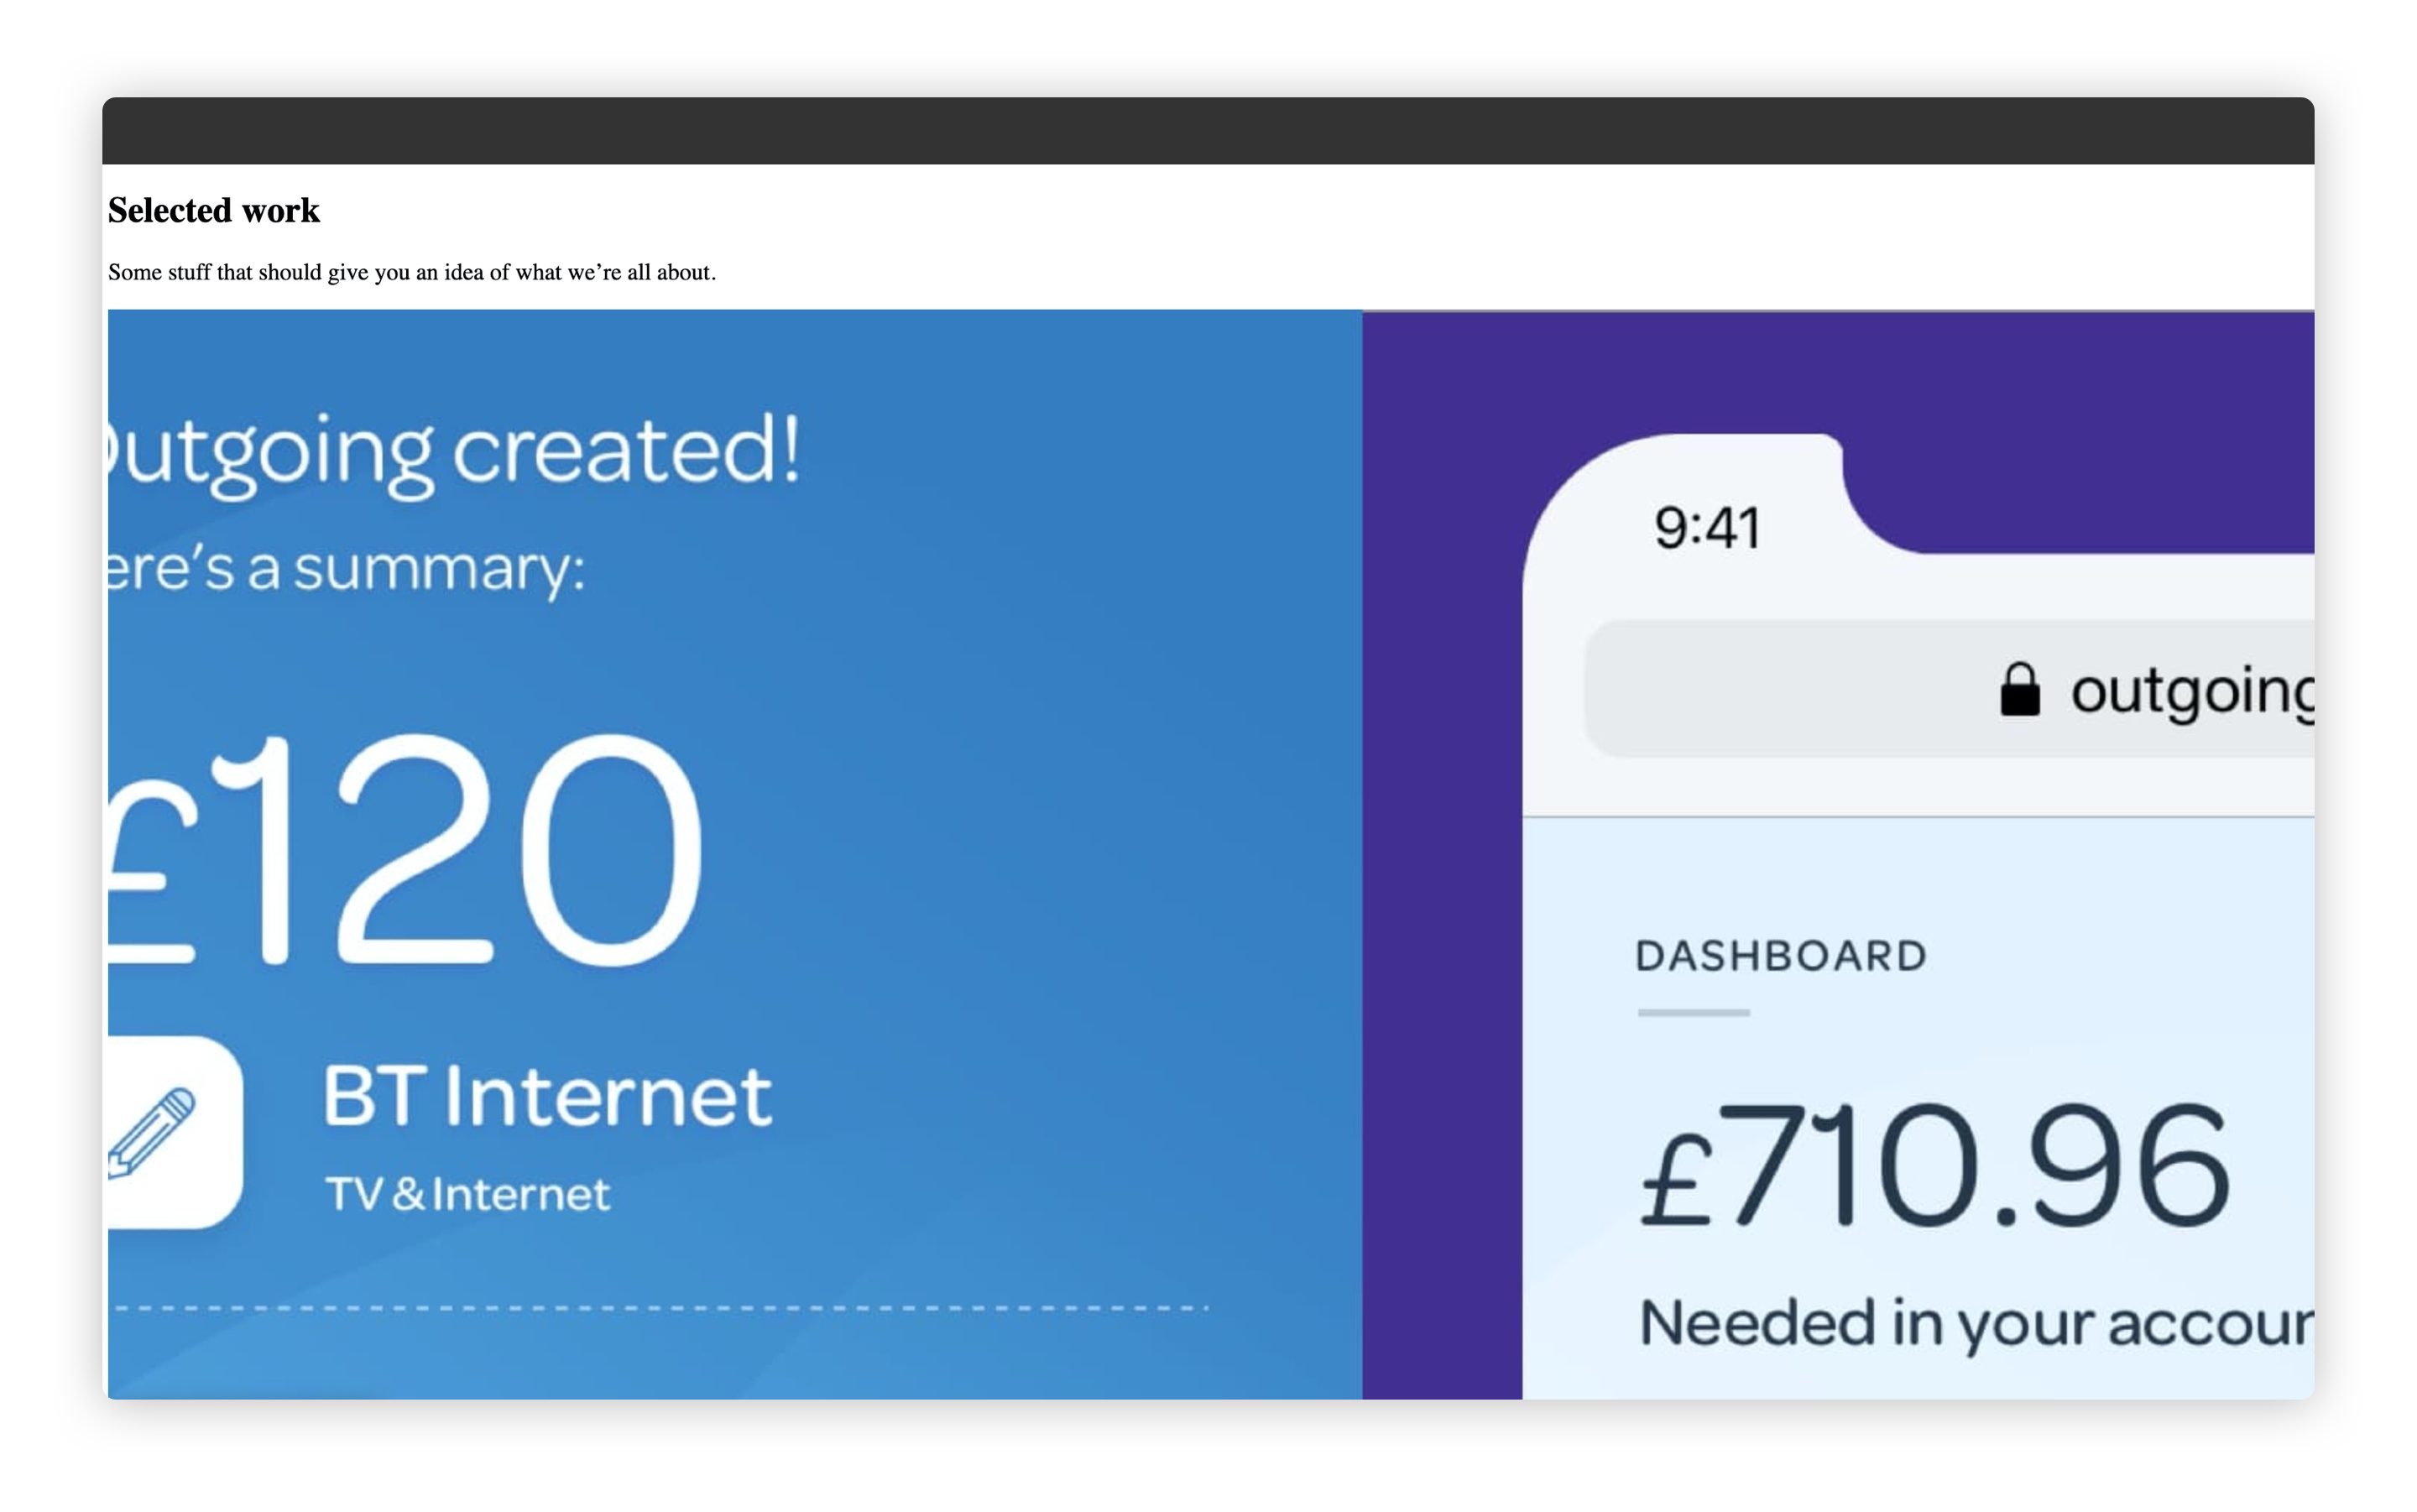
title: 'Selected work'
summary: 'Some stuff that should give you an idea of what we’re all about.'
Once you save that, open up your browser at http://localhost:8080 (opens new window) and scroll down, you should see this:
# Wrapping up
Nice work. Collections are very powerful indeed and we’ve only scratched the surface of what we can do with them in this lesson.
As we progress through this course, we’re going to learn even more and use them to create some pretty complex content structures.